Testing with postman
The following guide goes over the process of testing backend APIs with Postman. These APIs are automatically exposed via the backend SDK (/auth/* path).
- Make sure that the ThirdParty Recipe is correctly setup in your backend
- For the examples given below, the backend runs on domain localhost and port 3001.
- You can find the Open API spec for the APIs under test in the SwaggerHub API documentation.
- Postman does cookie management on its own. You don't need to manually set cookies on each request.
1. Sign up
The /auth/signinup API requires the redirectURI, thirdPartyId, and code attributes to appear as a JSON object in the request body.
-
redirectURI: It is the link that redirects the user after authentication. For example, for sign in with Google, the value of this is {websiteDomain}/auth/callback/google.
-
thirdPartyId: The id used to identify the provider. For example, if Google is a ThirdParty provider, its thirdPartyId is google.
-
code: The auth code that the third party provider sends when they call the redirectURI (post auth from their UI).
-
On a successful response, a new user session creates session tokens set in the response, and the response body contains the user object, the createdNewUser, and status values as JSON data.
-
The following session tokens appear:
- sAccessToken
- sRefreshToken
-
More information about these cookies is available in the session management security documentation.
2. Session verification
-
You can also test APIs that require the user to log in.
-
For example, there is an API used to query user data with the verifySession middleware as shown below.
import express from "express";
import { verifySession } from "supertokens-node/recipe/session/framework/express";

let app = express();

// The following code snippet is an example API. You do not need to
// implement it in your app

app.post("/change-user-data", verifySession(), async (req, res) => {
    let userId = req.session.getUserId();
    // mutate some user data
    res.send({
        userId
    })
})
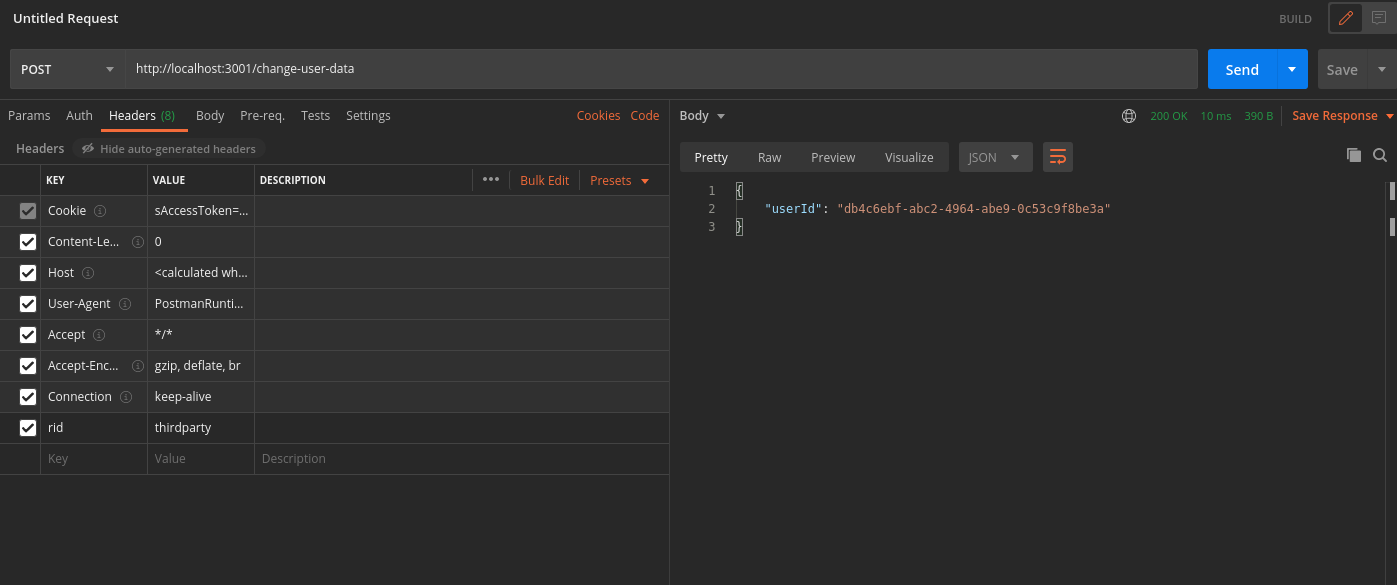
- In Postman, set the request type to POST.
- Set the URL to http://localhost:3001/change-user-data
- If you have the antiCsrf attribute set to VIA_TOKEN in your backend SuperTokens configuration, then in the Postman Header tab, set a key as anti-csrf and value as the anti-csrf token retrieved from the login response.
- On a successful response, the response body contains user data.
By default, for GET APIs, you don't need to provide the anti-csrf request header as anti-CSRF checks are only done in non-GET APIs
In case you query the /change-user-data API with an expired access token, you receive a 401 response with the message try refresh token.
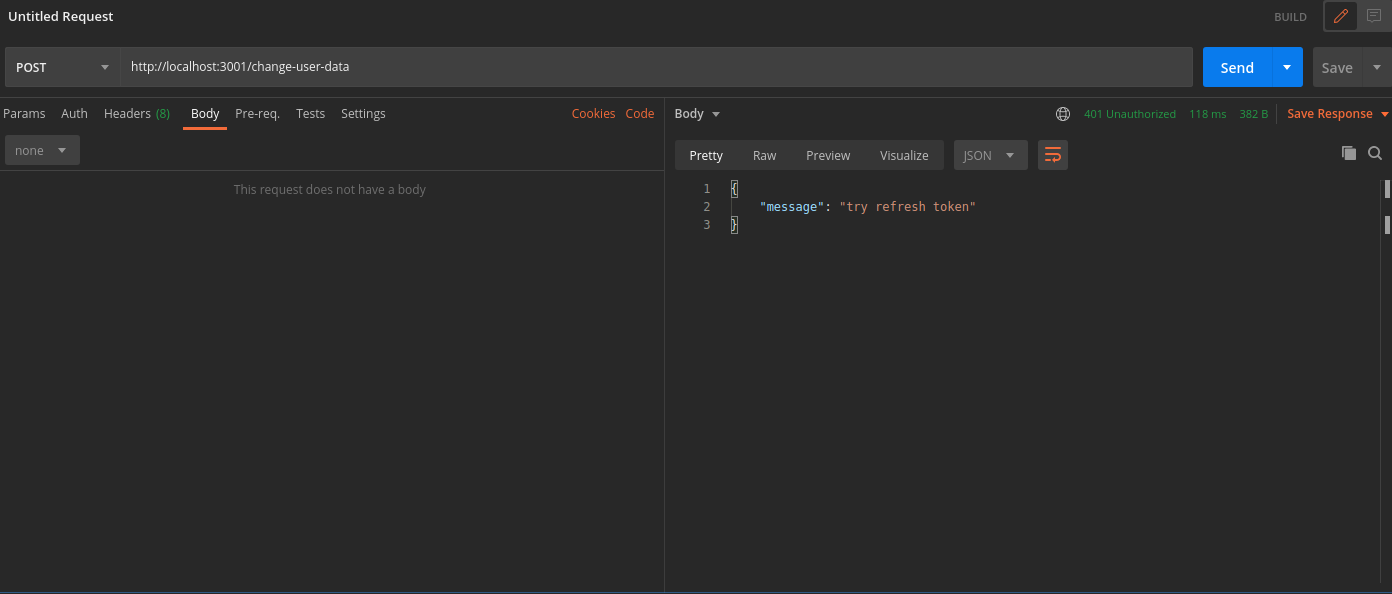
To generate new session tokens you can use the /auth/session/refresh API as shown in the next section.
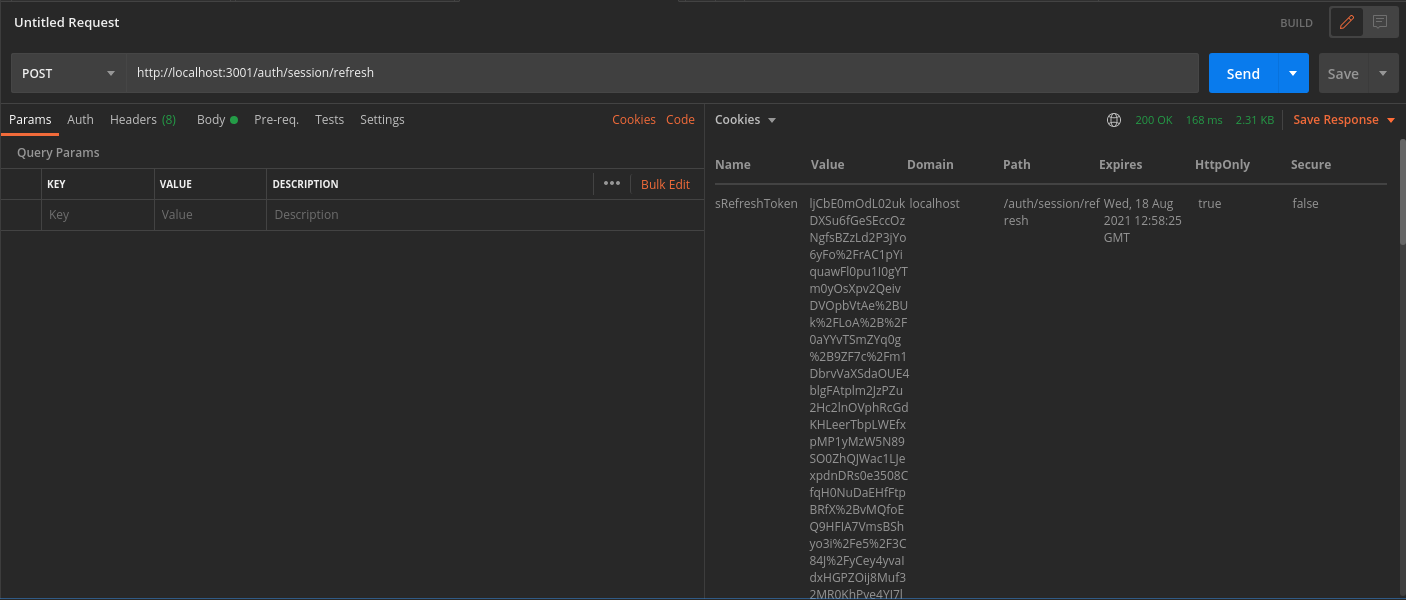
3. Refreshing session tokens
In case your access token expires you can call the /auth/session/refresh API to generate a new access token and refresh token.
- In Postman, set the request type to POST.
- Set the URL to http://localhost:3001/auth/session/refresh
- On a successful response, the system sets new session tokens.
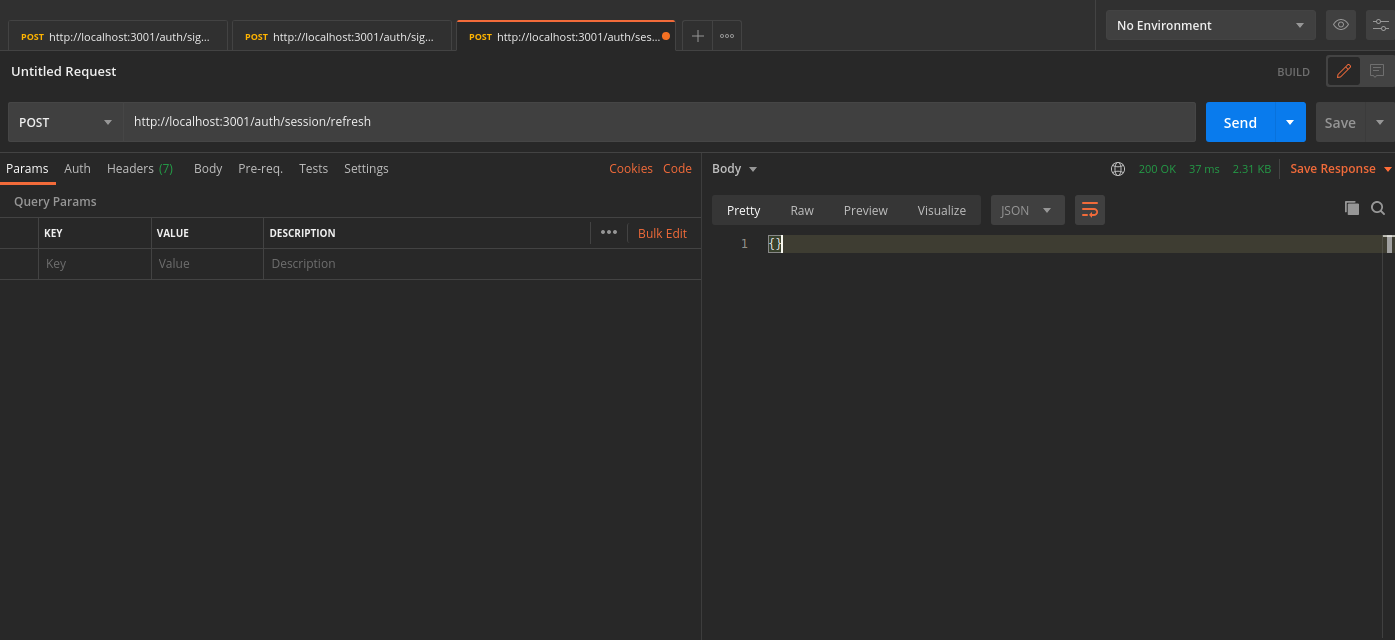
You can see the new session tokens by switching to the cookies tab
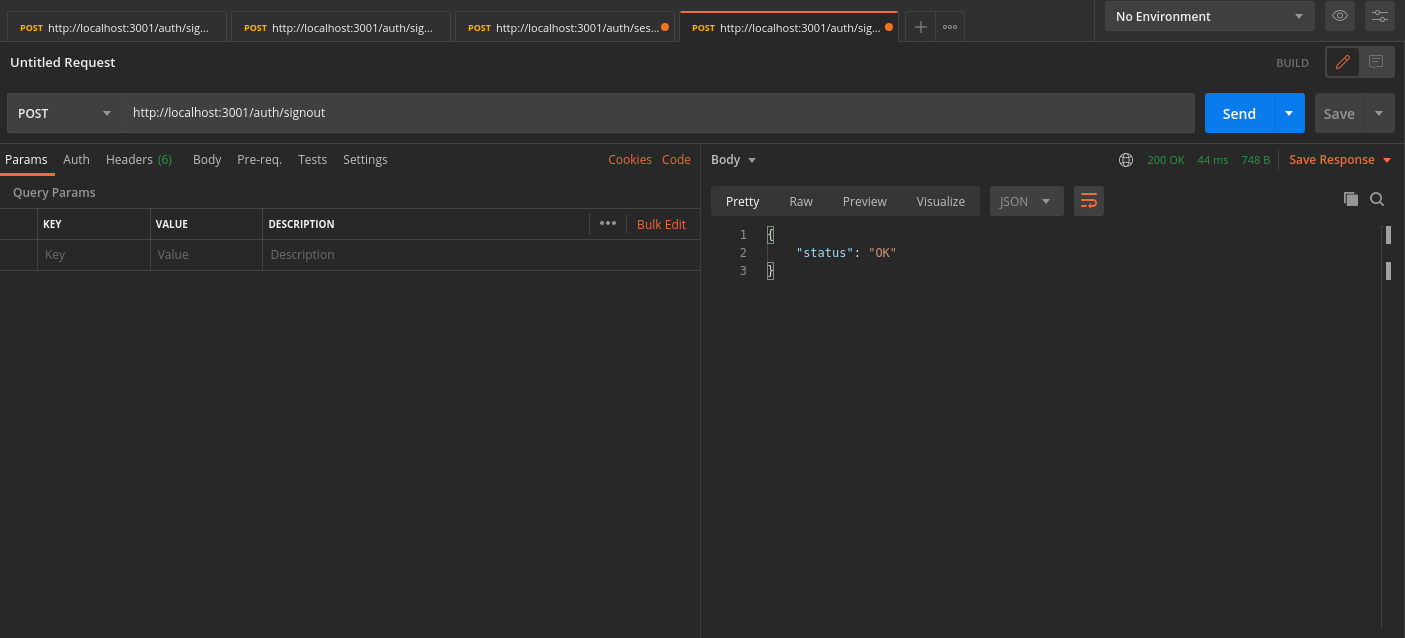
4. Logout
The /auth/signout API invalidates the user sessions. This clears the session cookies set in Postman.
- In Postman, set the request type to POST.
- Set the URL to http://localhost:3001/auth/signout
- On a successful response, Postman and the database clear the session tokens.