Next Steps
Overview
Now that you have completed the quickstart guide there are a few more things that you need to take care of on the road towards a production ready authentication experience.
Configure the Core Service
If you have signed up and deployed a SuperTokens environment already, you can skip this step. Otherwise, please follow these instructions to use the correct SuperTokens Core instance in your application.
The steps show you how to connect to a SuperTokens Managed Service Environment. If you want to self host the core instance please check the following guide.
1. Sign up for a SuperTokens account
Open this page in order to access the account creation page. Select the account that you want to use and wait for the action to complete.
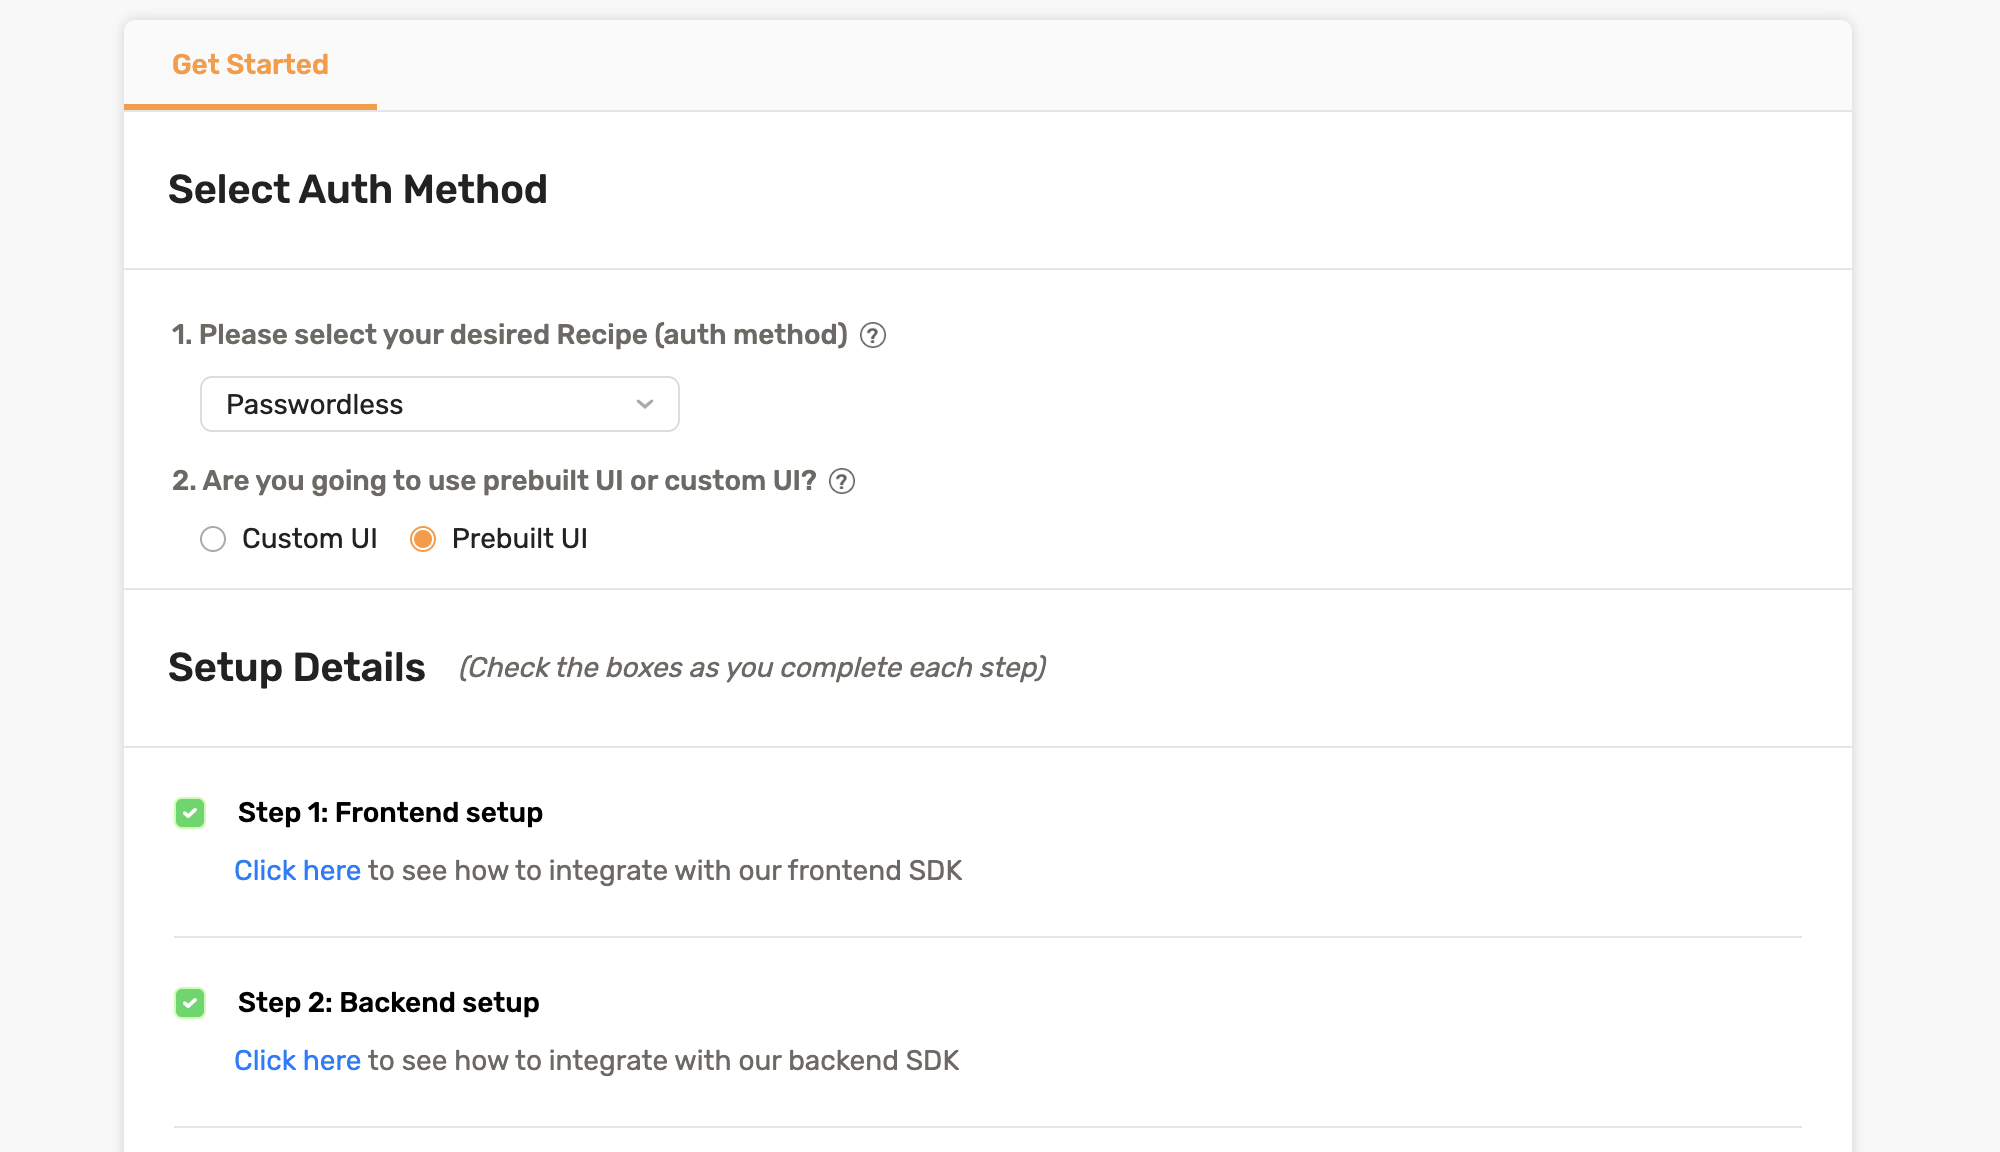
2. Select the authentication method
After you have created your account, you will be prompted with a form that will ask you to specify details about your configuration. Select which authentication method that you want to use.

3. Select the region where you want to deploy the core service#
Choose between one of the three regions: US East (N. Virginia), Europe (Ireland), Asia Pacific (Singapore).
In order to avoid any latency issues select a region that is closest to where your services are hosted.
If you want to deploy the core service in a different region, get in touch with the team to request a custom configuration.
4. Click the deploy button 🚀

Our internal service will deploy a separate environment based on your selection.
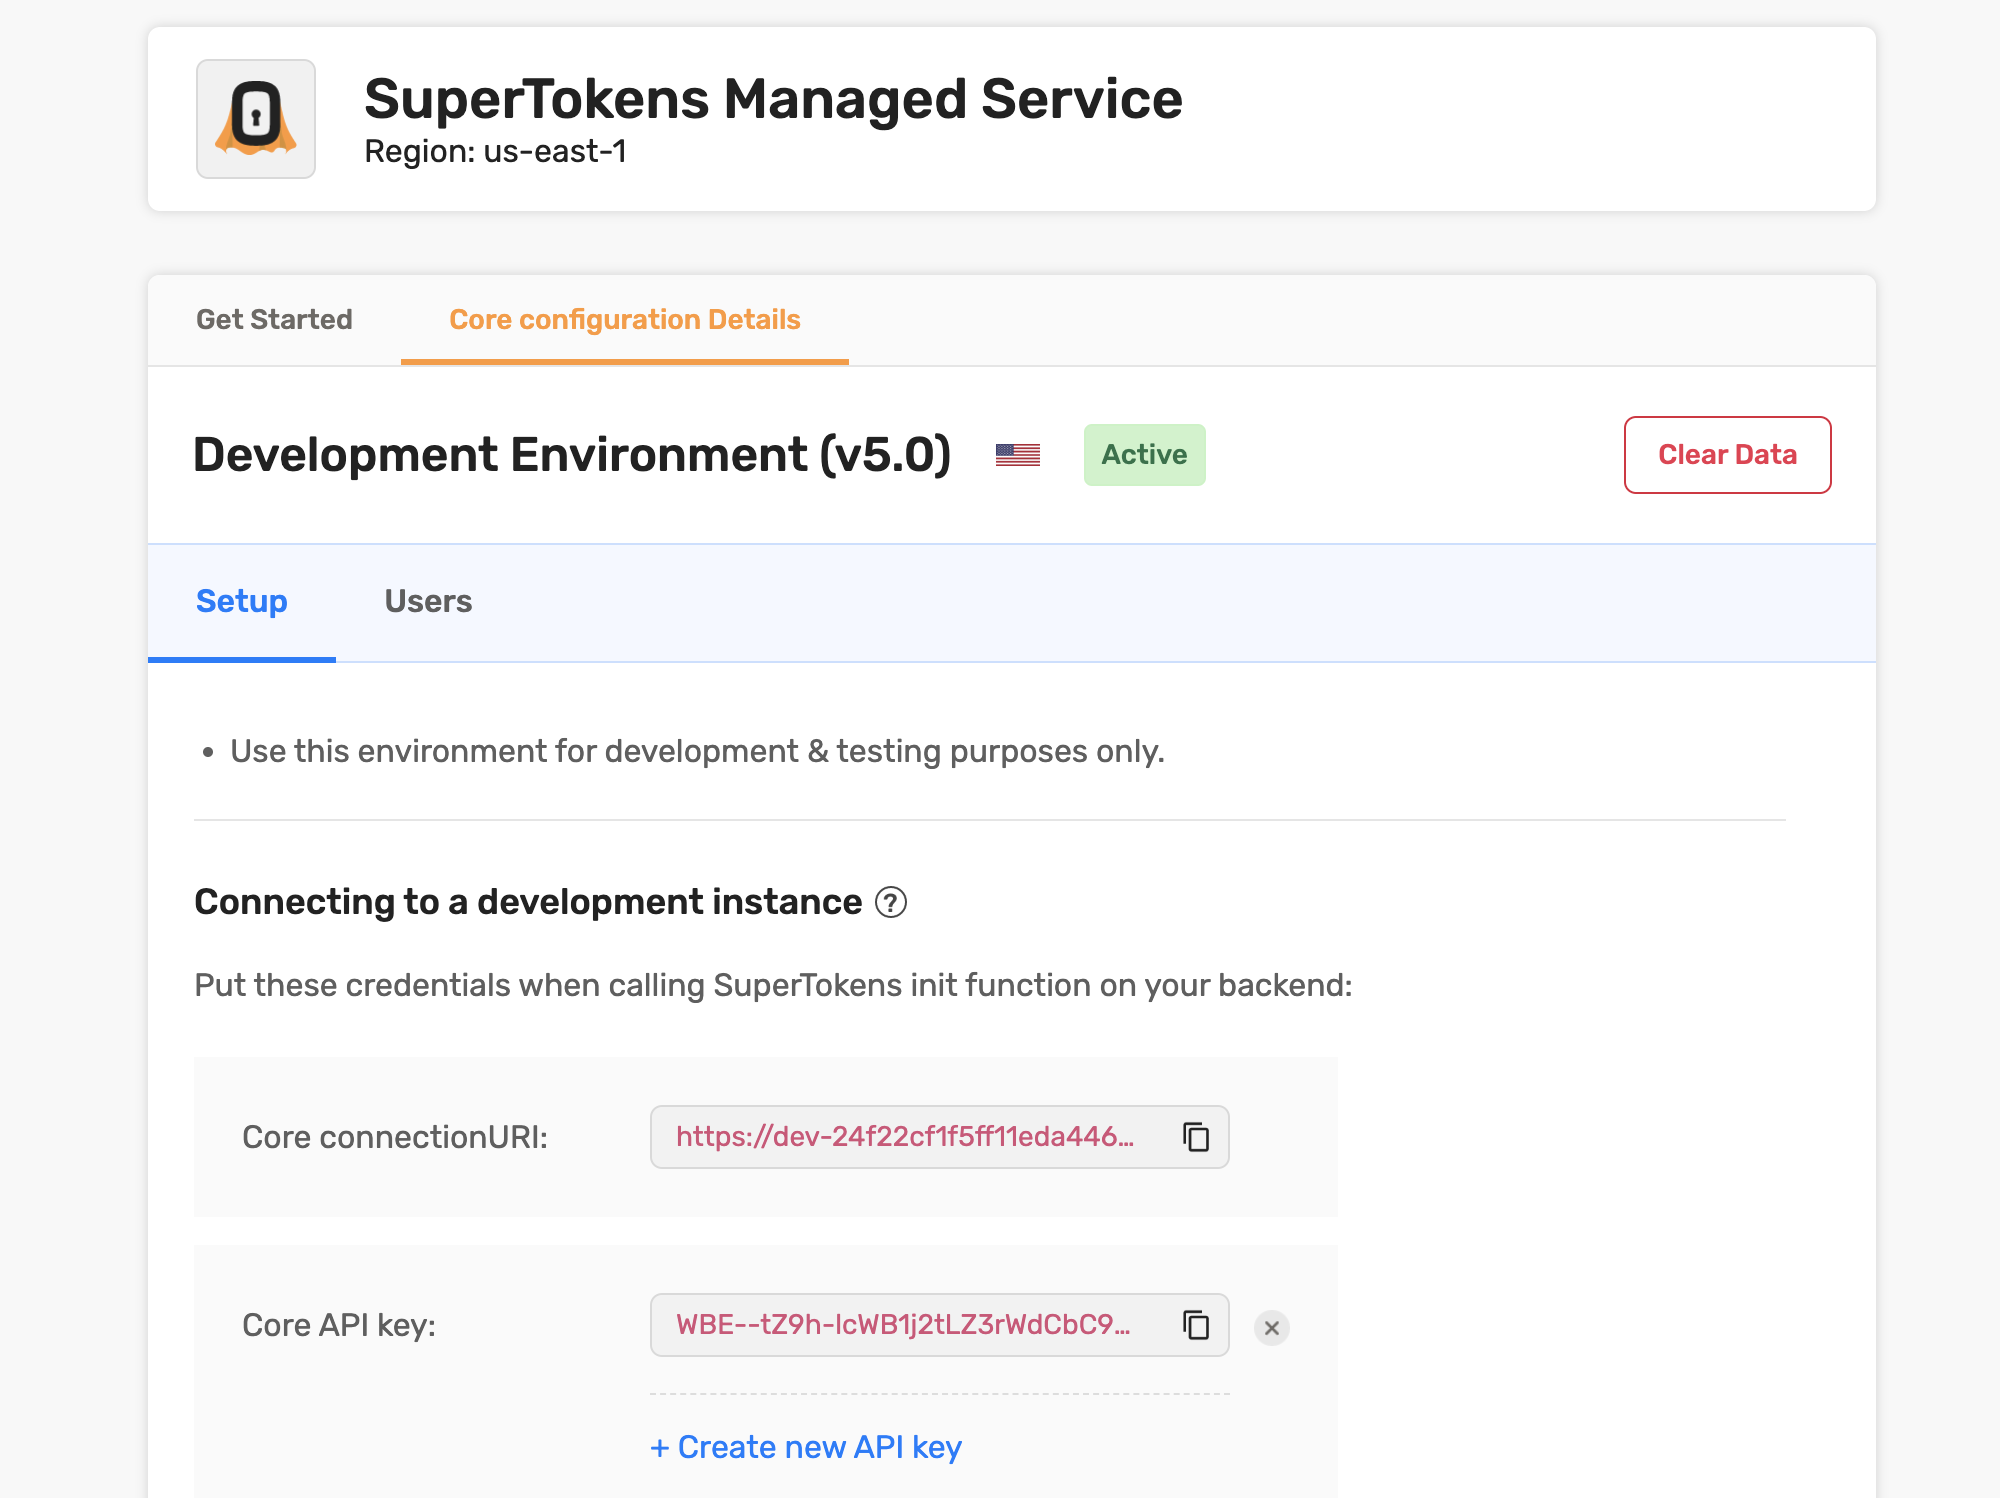
After this process is complete, you will be directed to the dashboard page. Here you can view and edit information about your newly created environment.
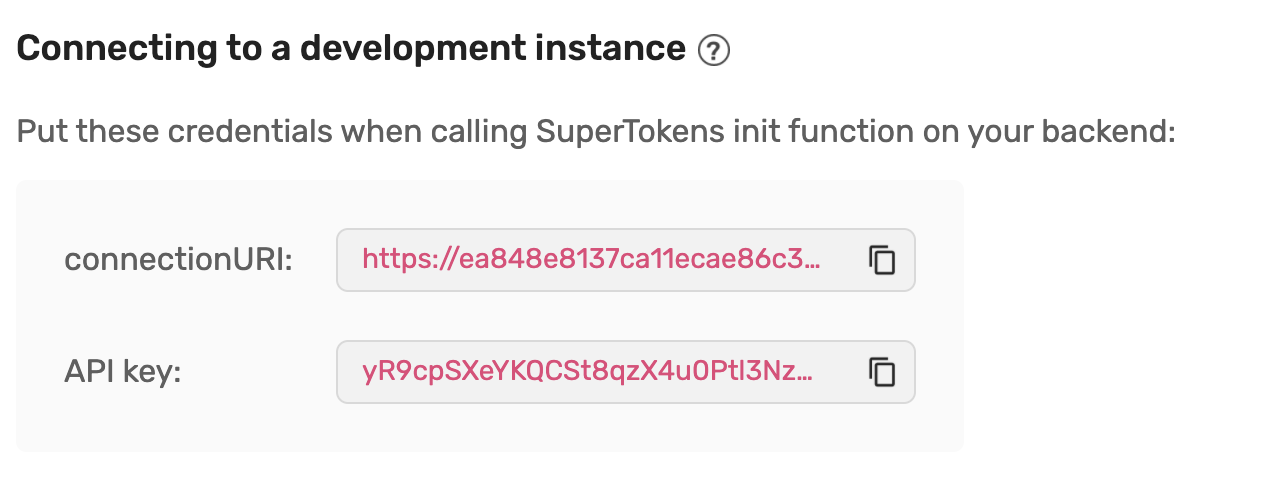
The main thing that we want to focus is the Connecting to a development instance section.
There you can see two different values, the connectionURI and the apiKey.
You will use these values in the next step.
The initial setup flow only configures a development environment.
In order to use SuperTokens in production, you will have to click the Create Production Env button.
5. Connect the Backend SDK with SuperTokens 🔌
Add the connectionURI and the apiKey shown on the dashboard to your code on the backend.

import supertokens from "supertokens-node";

supertokens.init({
	supertokens: {
		connectionURI: "<CONNECTION_URI_HERE_FROM_THE_POPUP>",
		apiKey: "<API_KEY_HERE_FROM_THE_POPUP>",
	},
	appInfo: {
		apiDomain: "...",
		appName: "...",
		websiteDomain: "...",
	},
	recipeList: [],
});
Add More Authentication Methods
Besides the simple email/password example that you just completed, SuperTokens exposes additional authentication methods that can easily be enabled.
Passwordless
Authentication through magic links or one-time codes.
Social Login
Login flow that uses third-party providers for authentication.
Enterprise Login
Instructions on how to configure your application to support multiple tenants and enterprise authentication methods.
Unified Login
Details on how to create a common authentication experience for all your products.
Machine to Machine Authentication
Guides on authenticating microservices using SuperTokens.
Customize Your Authentication Flow
After you have connected the Backend SDK to a specific SuperTokens Core Service, you can go check the rest of the documentation. Several sections show you how to customize the authentication experience to fit your specific needs. Some of the most common subjects are:
Explore Additional Features
You can also review the additional features that SuperTokens exposes. Those can help you extend the authentication implementation on different levels.