User management
Overview
With the user management dashboard you can view the list of users and their details. You can also perform different operations on these users as mentioned below.
Create users
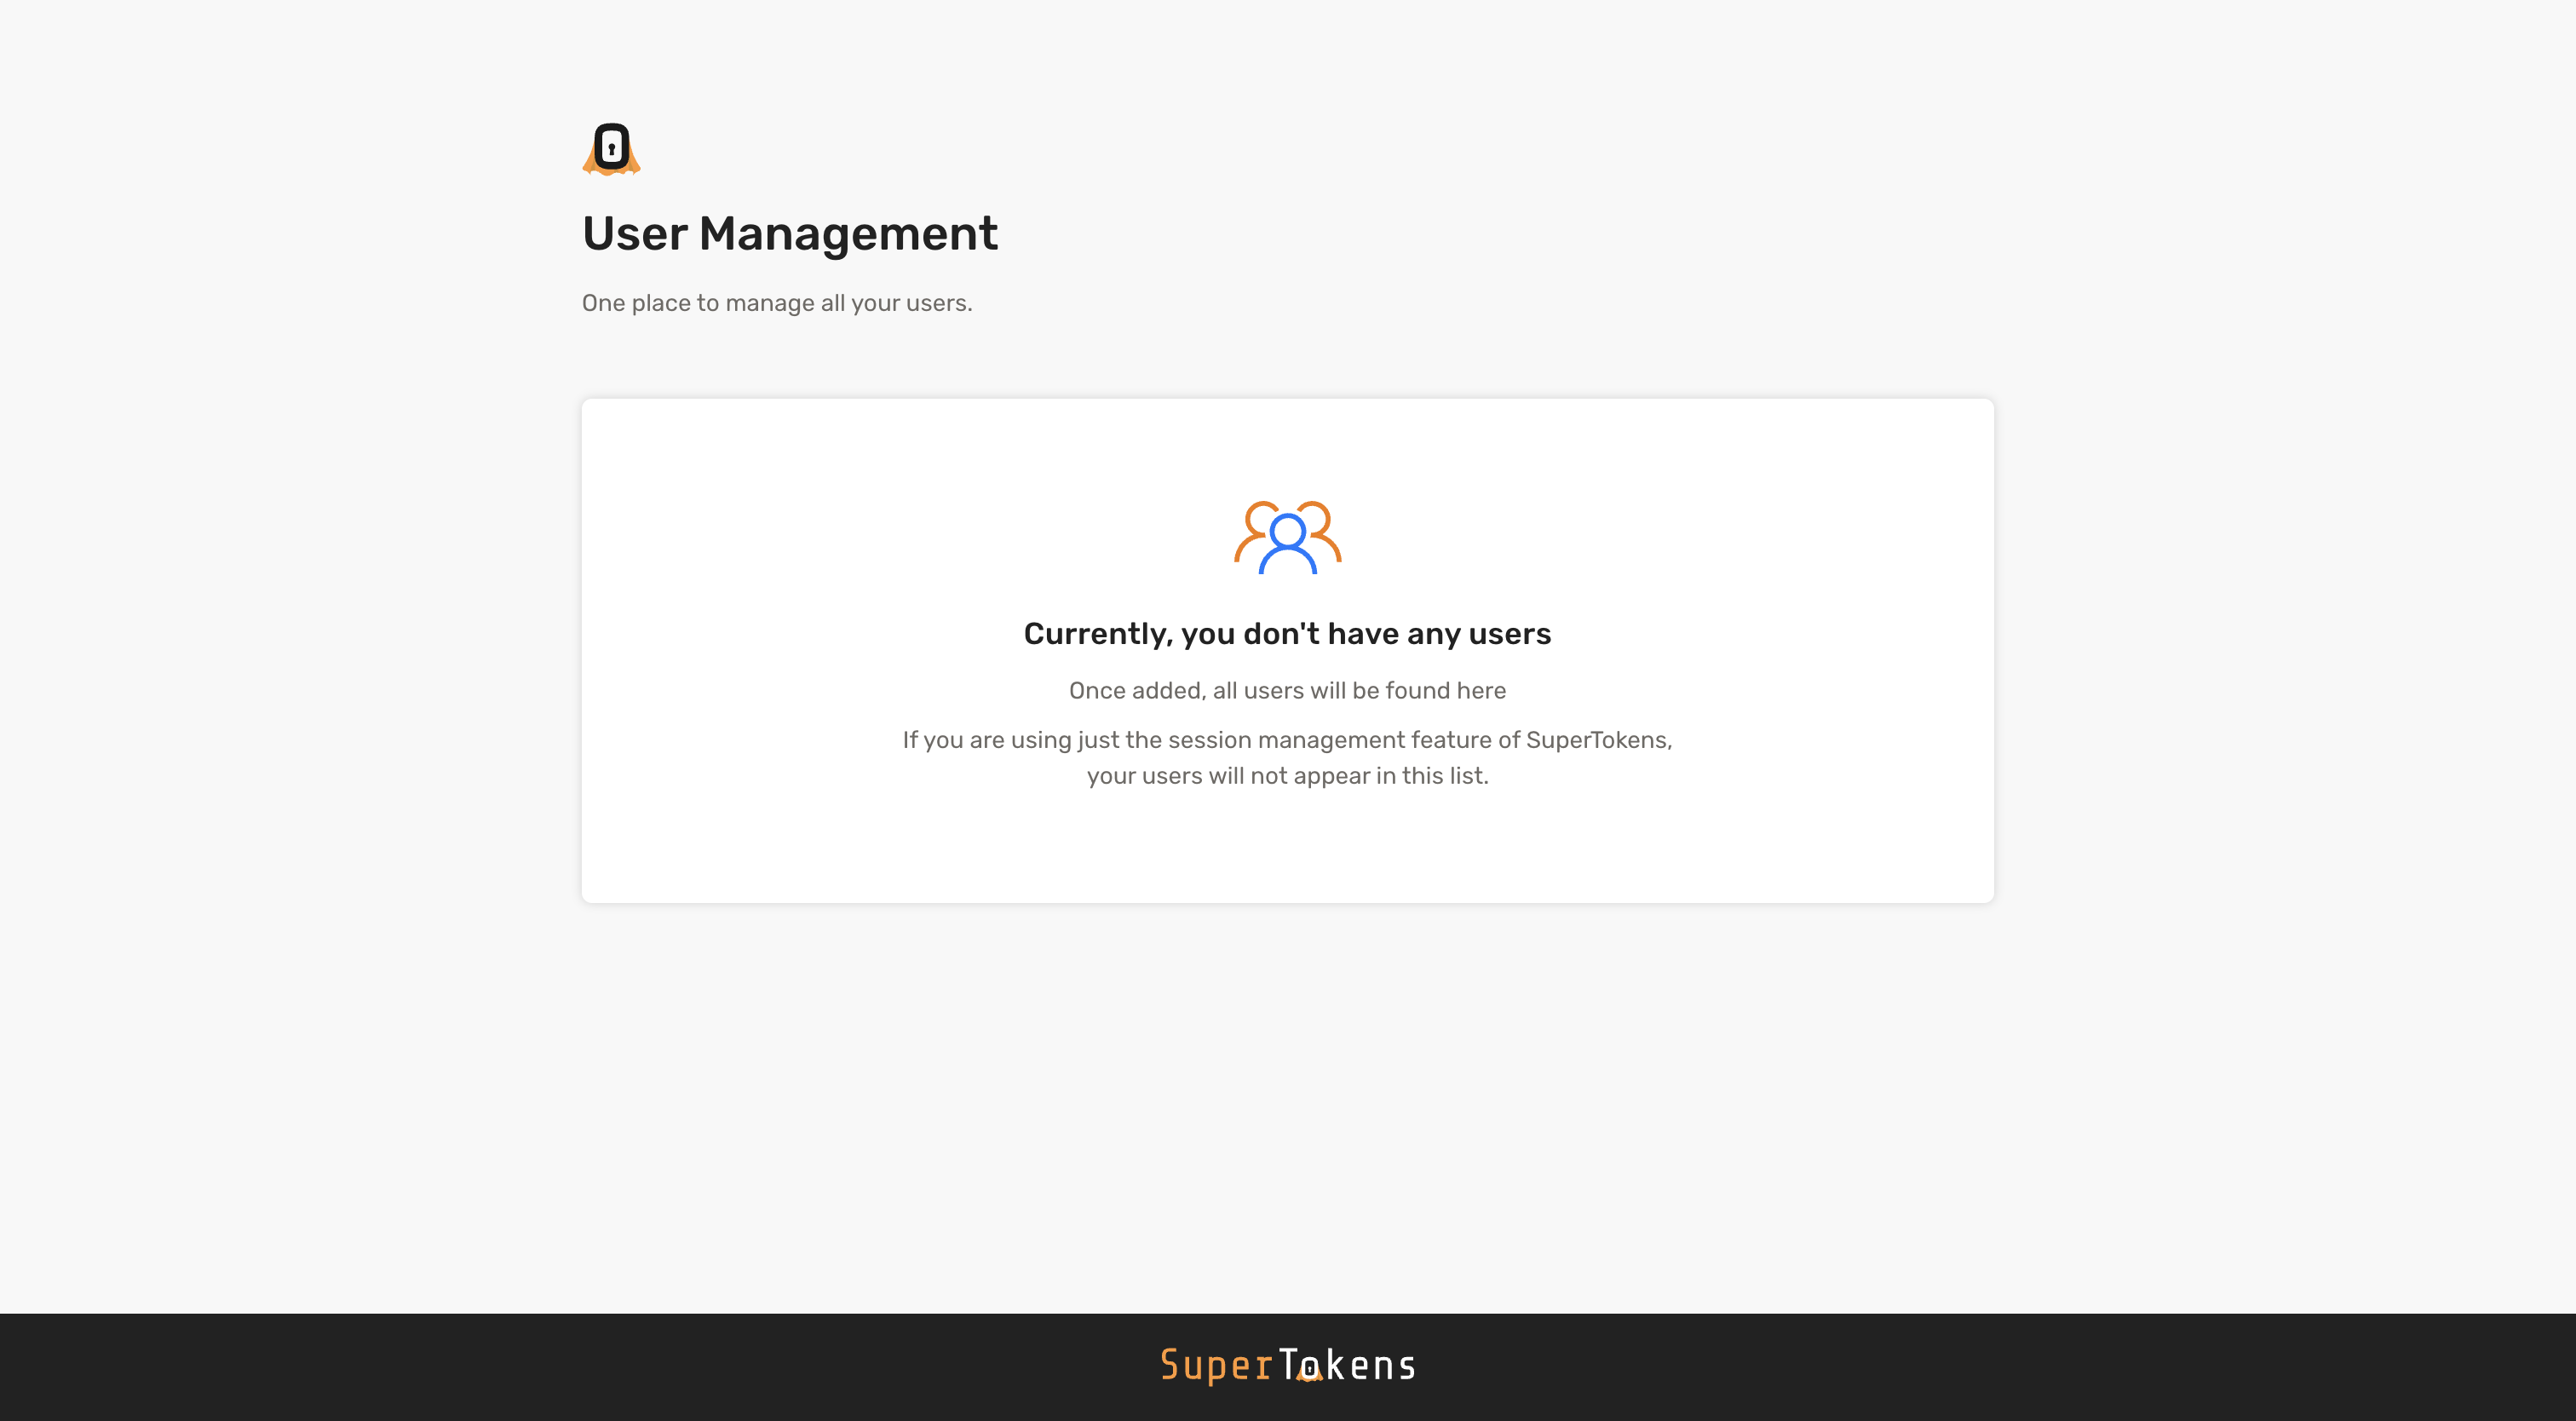
If you have created your app, you may not have any users to show on the dashboard.
List users
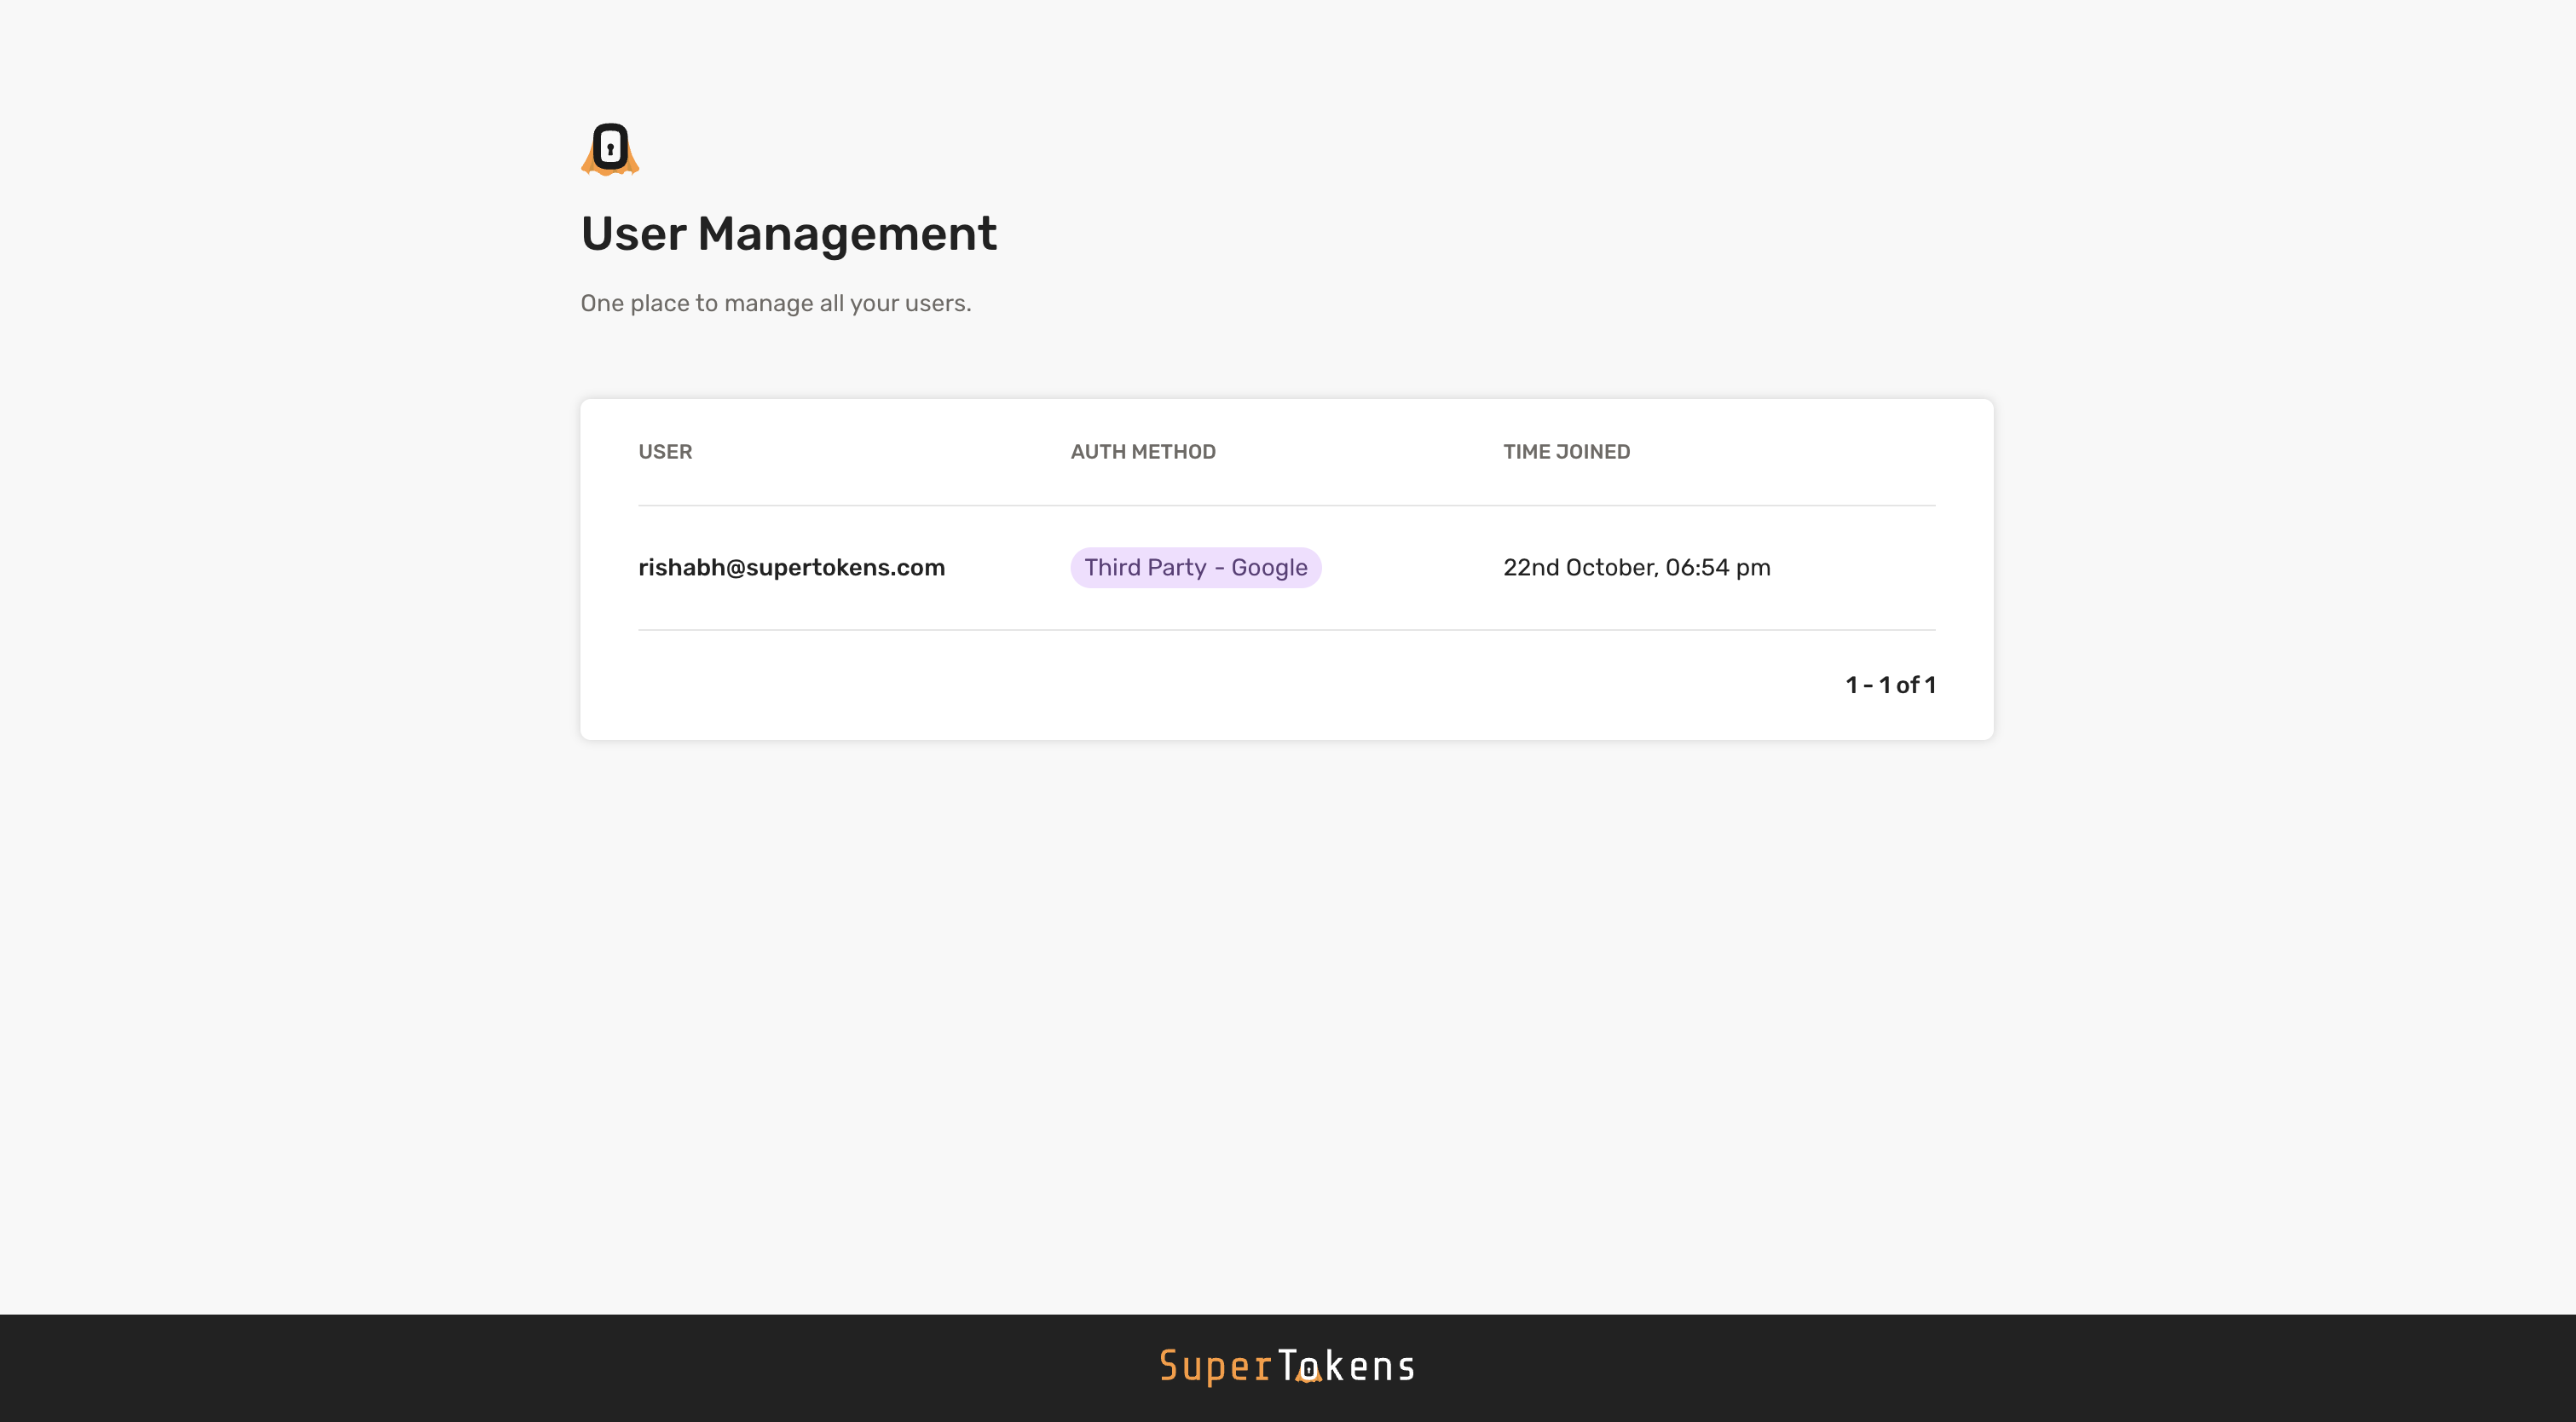
Navigate to your frontend app and create a user (via the sign-up flow). On creation, if you head back to the dashboard and refresh the page, you see that user:
View user details
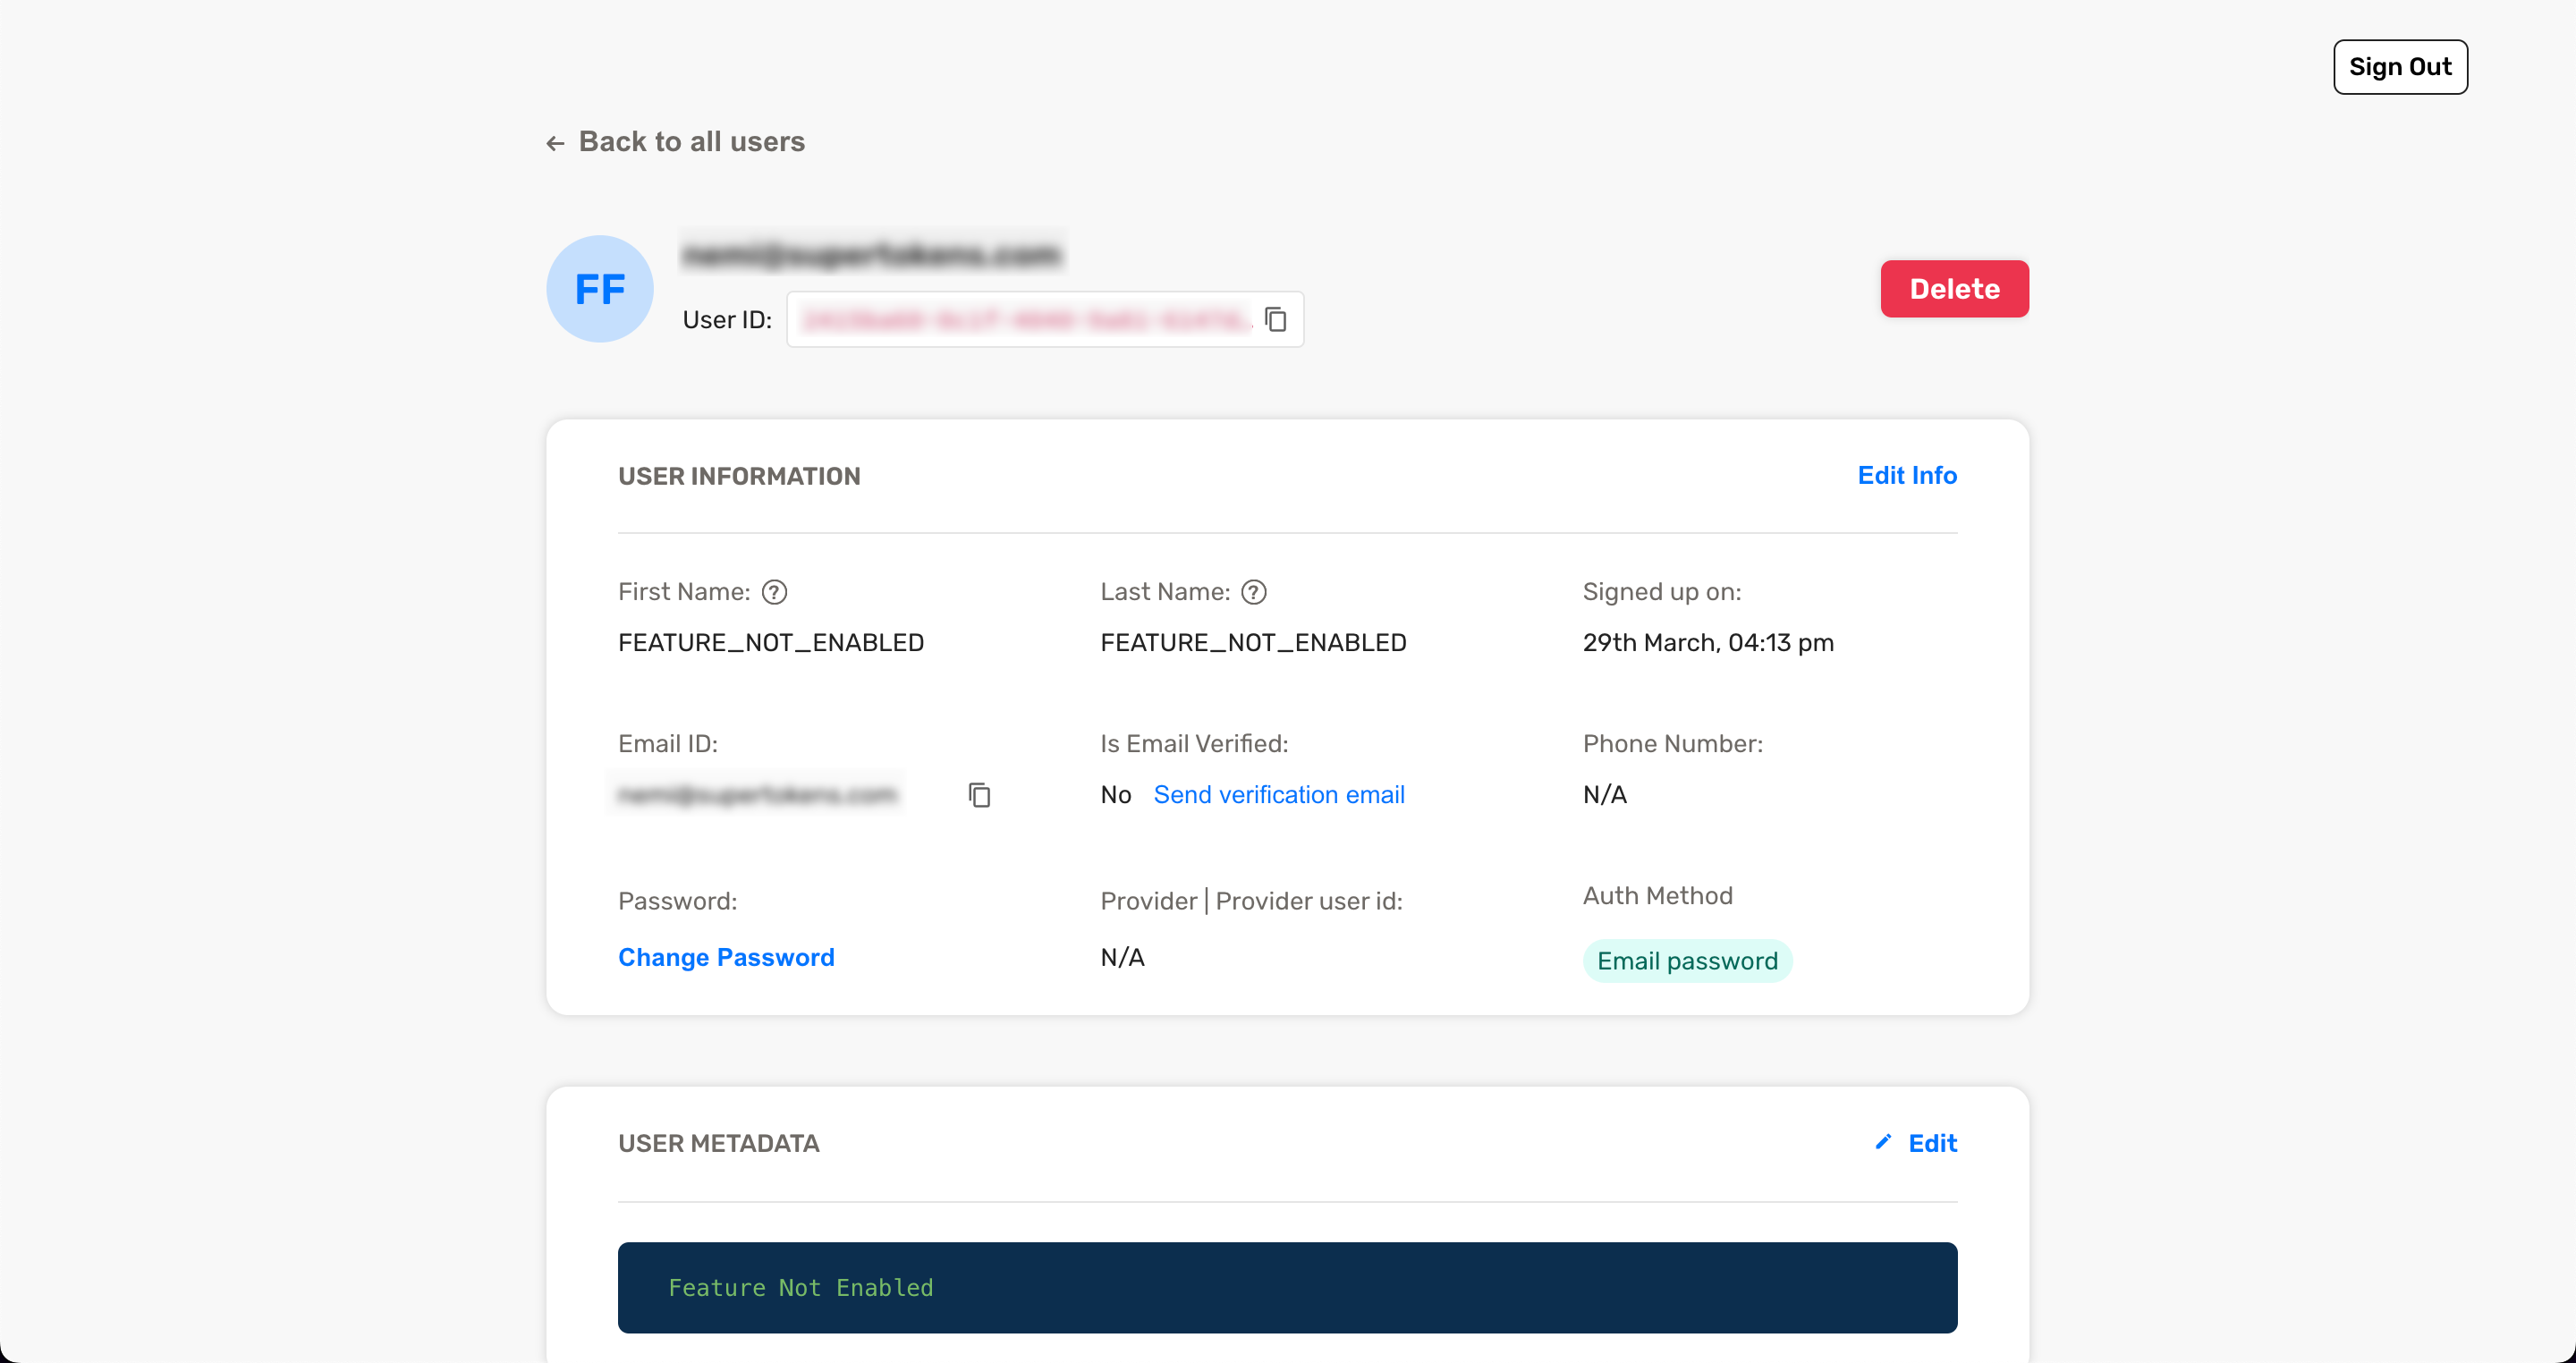
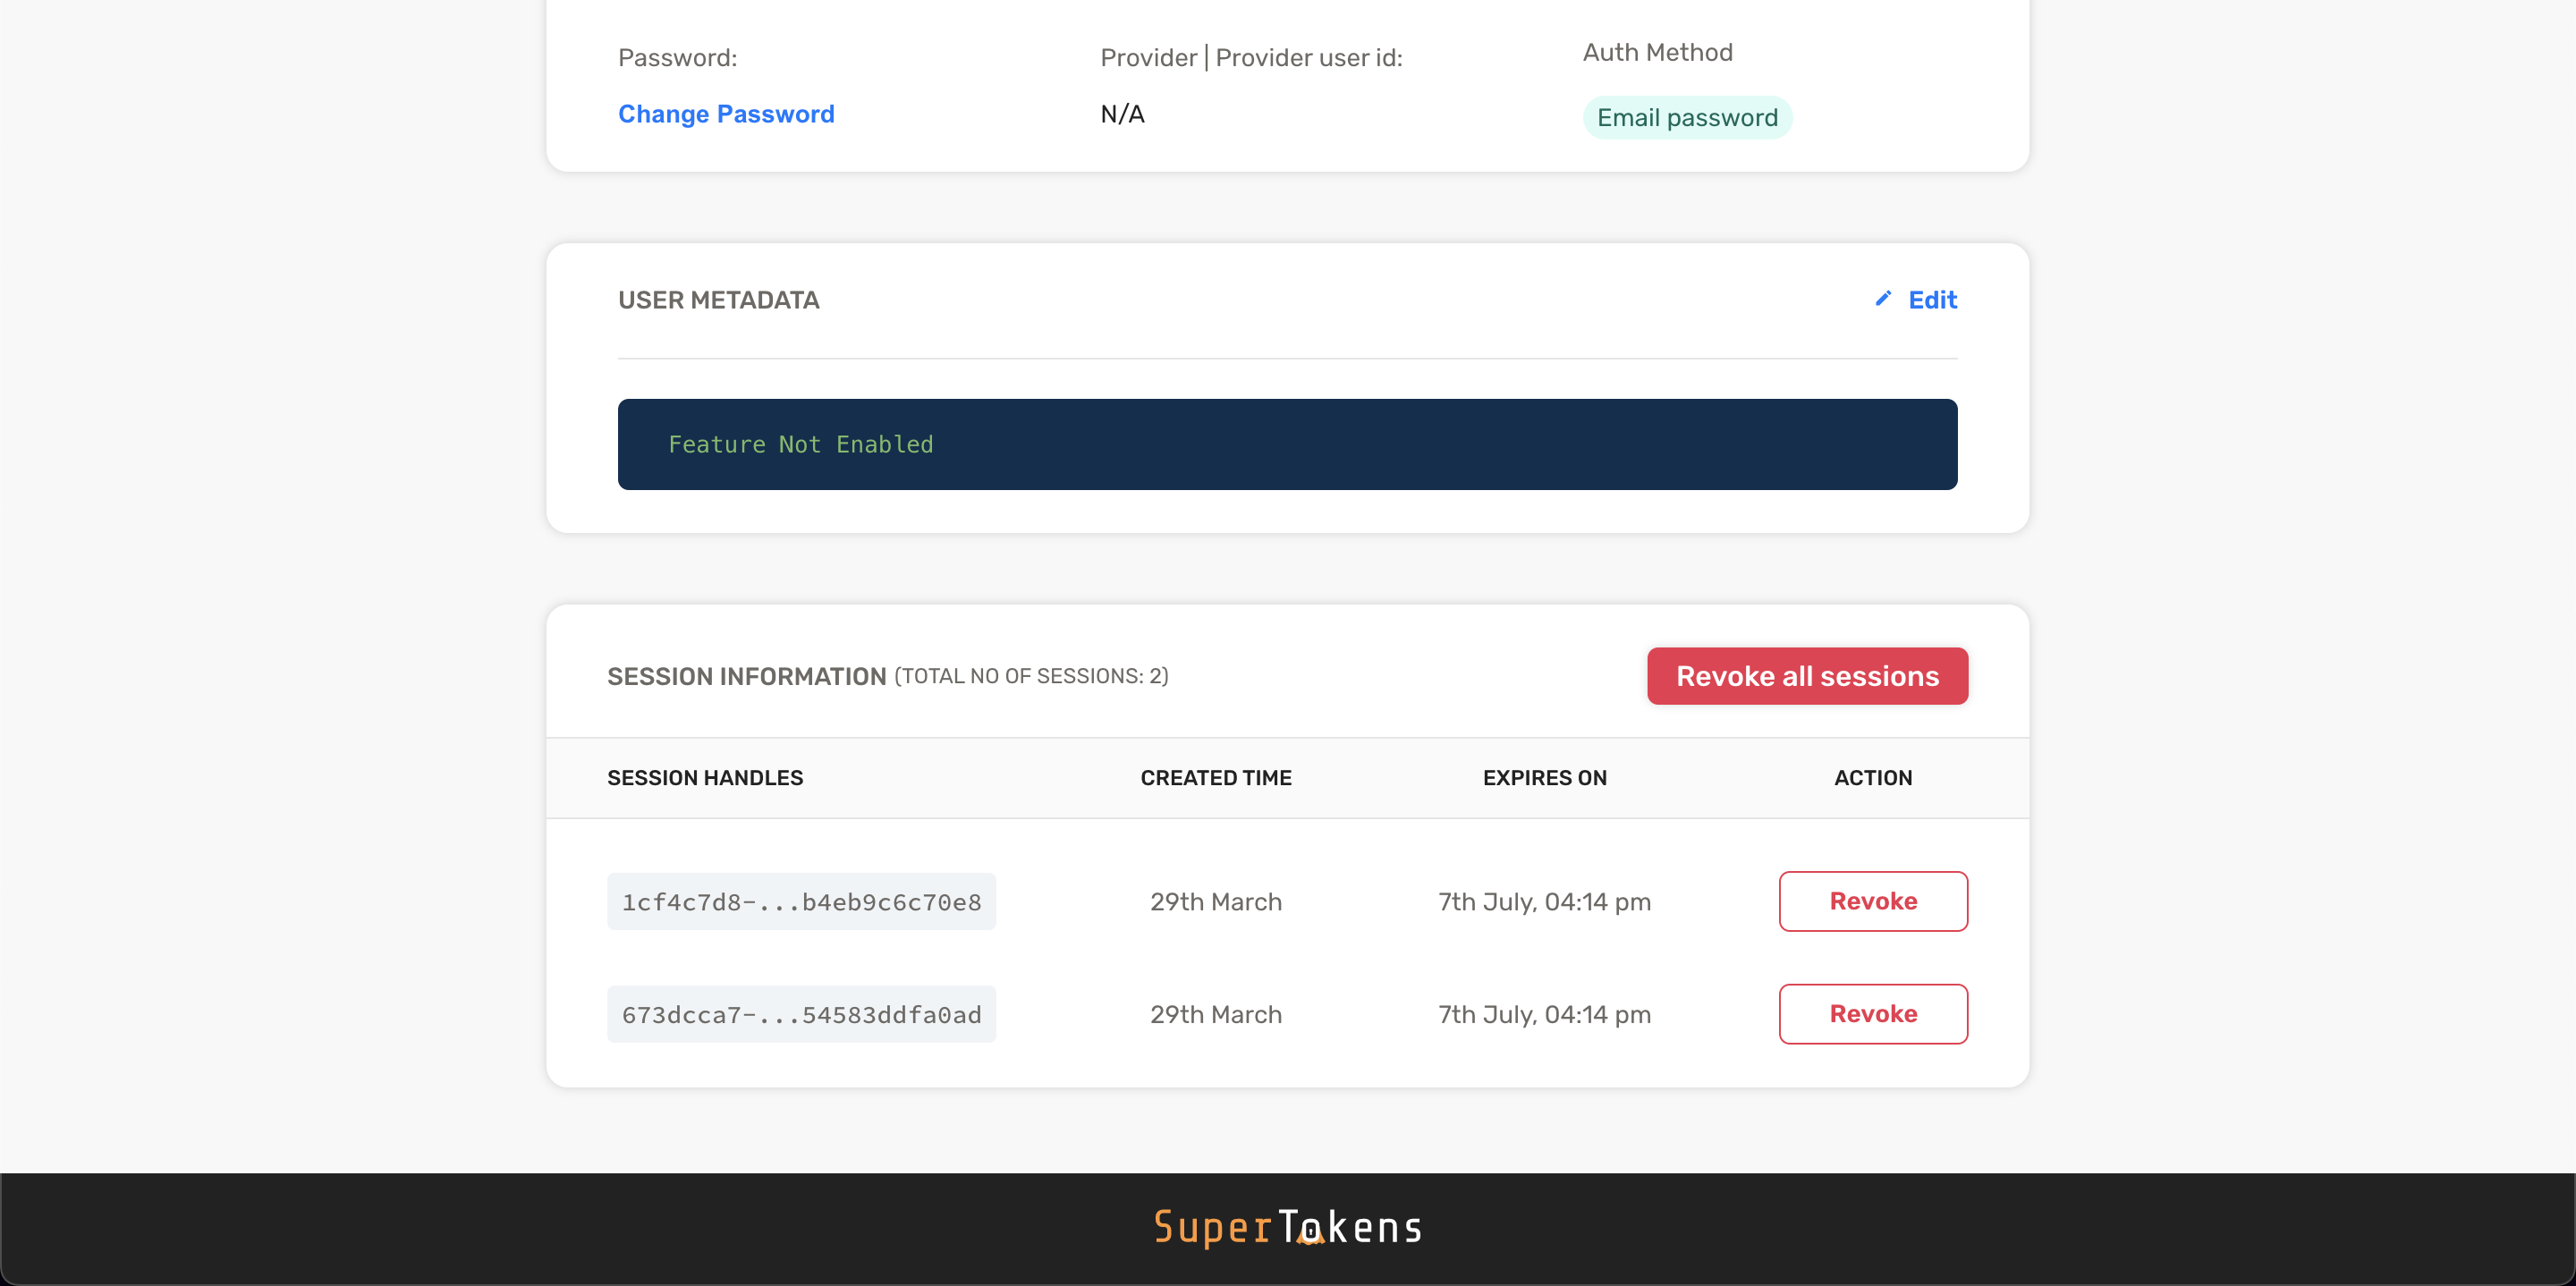
When you select a user you can view detailed information about the user such as email, phone number, user metadata, etc.
Edit user details
You can edit user information and perform actions such as resetting a user's password or revoking sessions for a user.
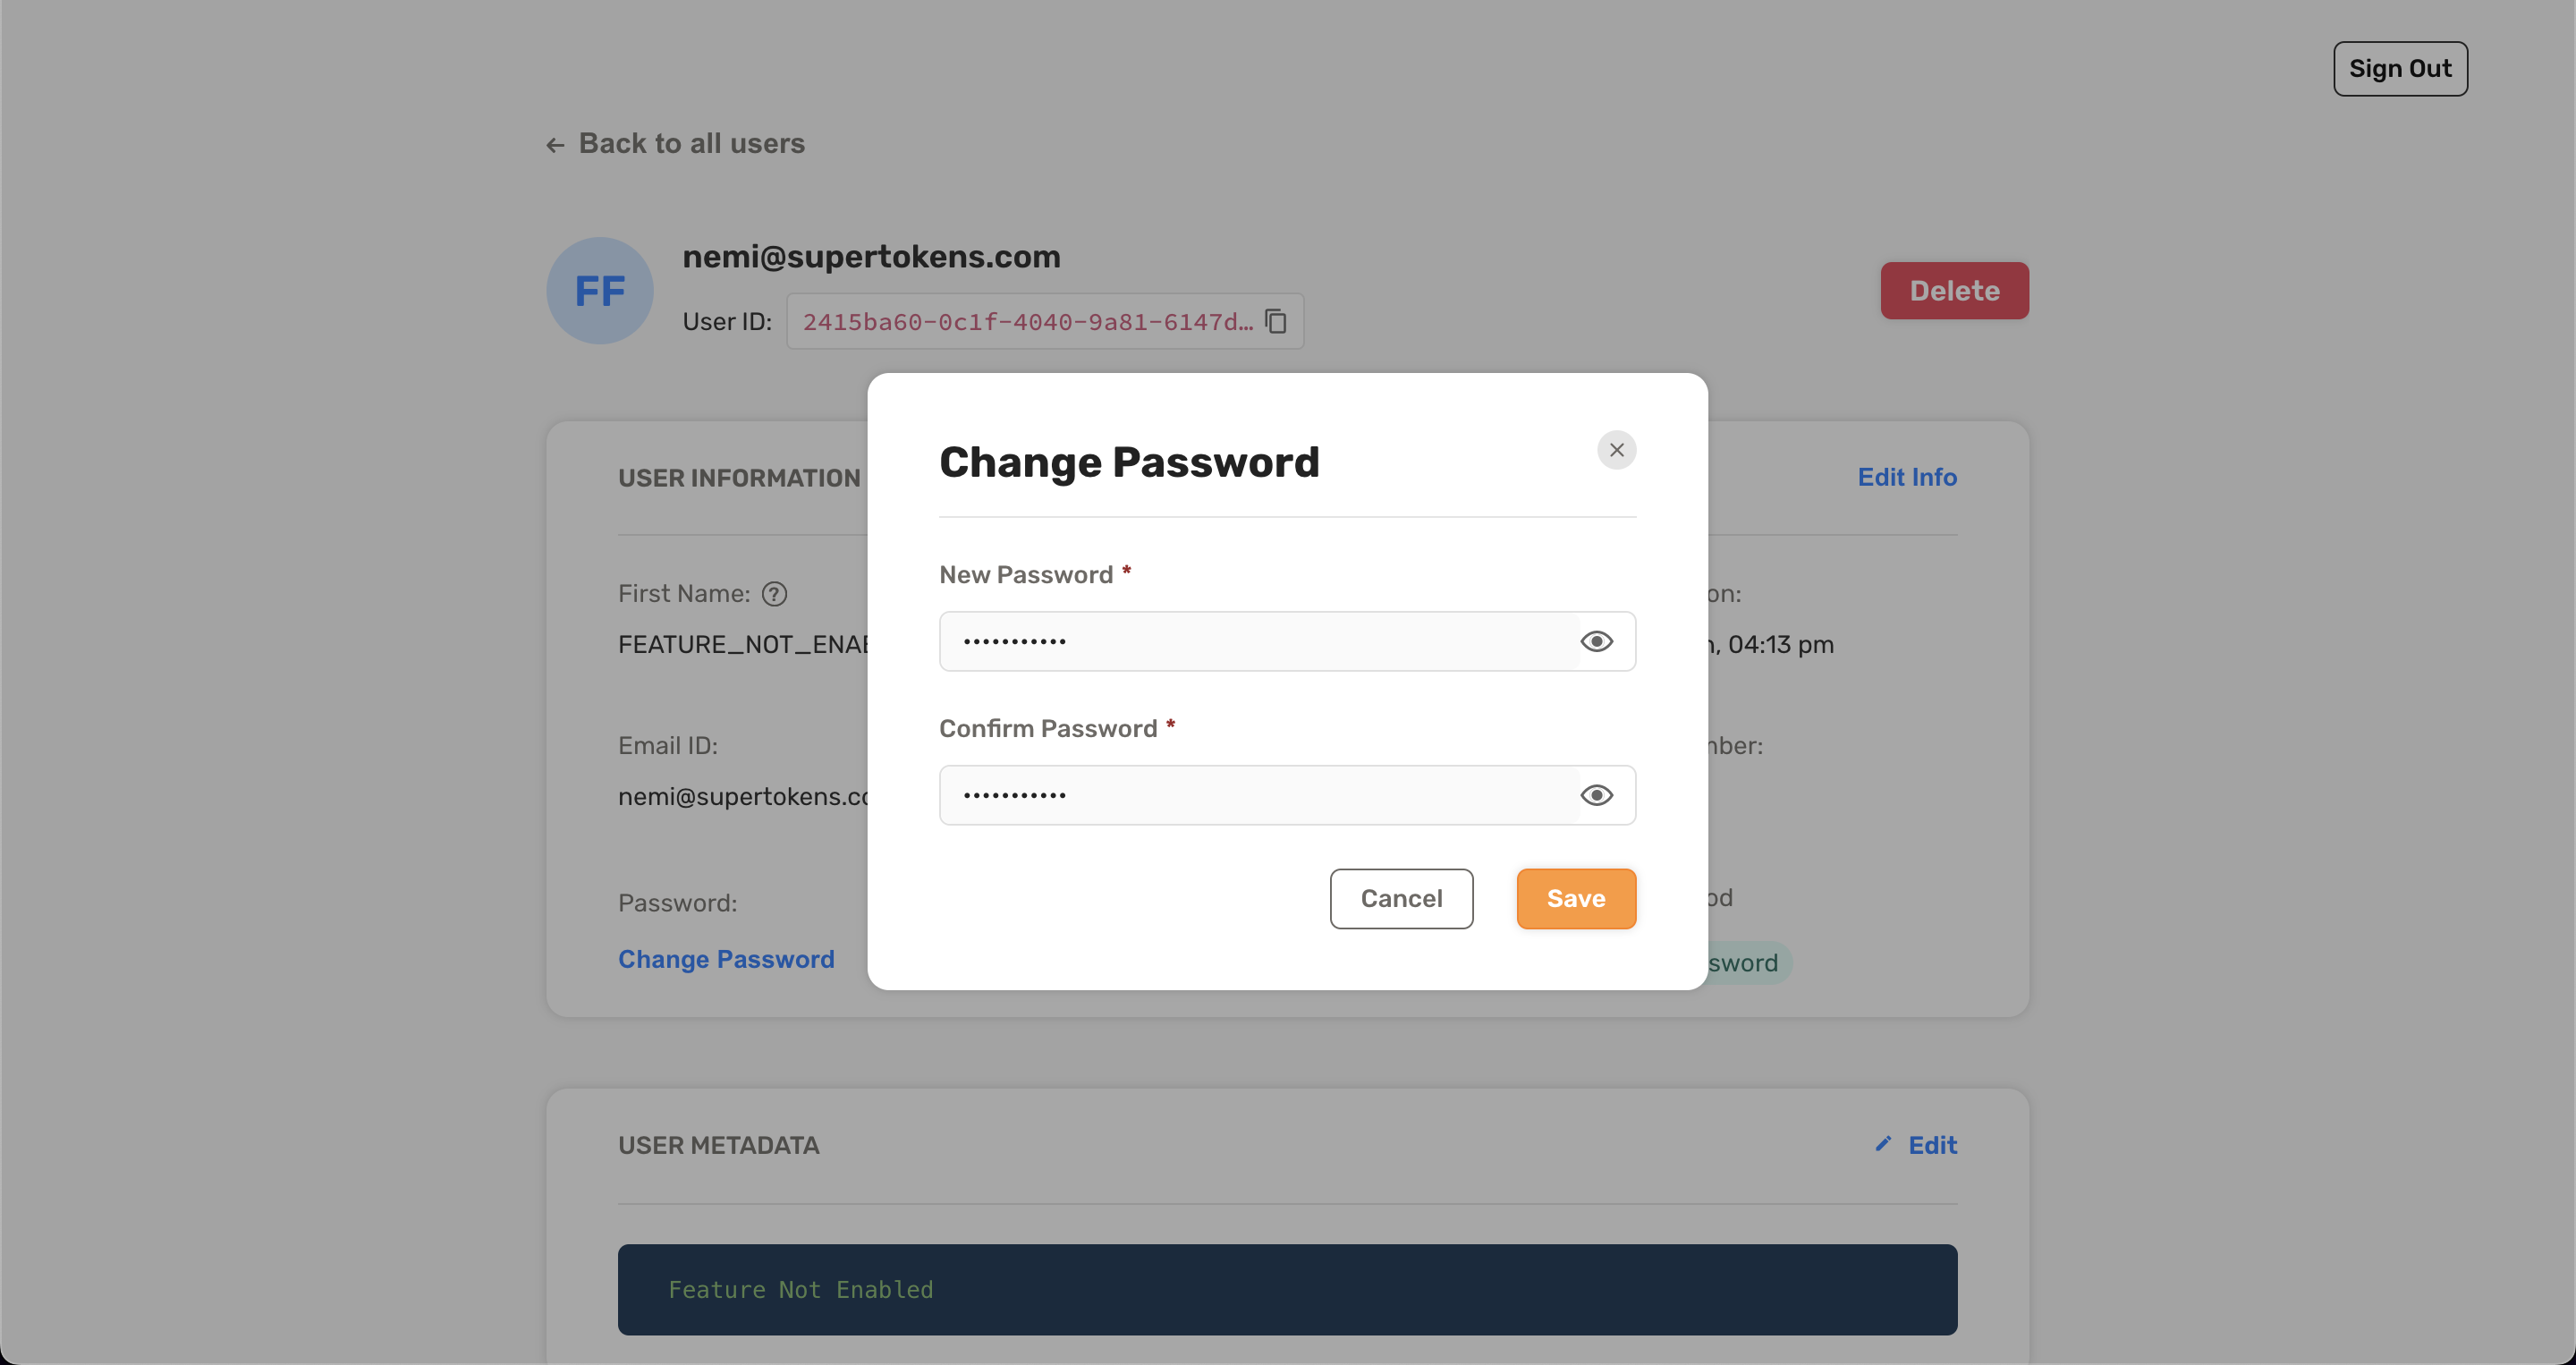
Enable some features such as user metadata and email verification in your backend before you can use them in the user management dashboard.
Create user roles and permissions
This feature is only available through the Node.js SDK.
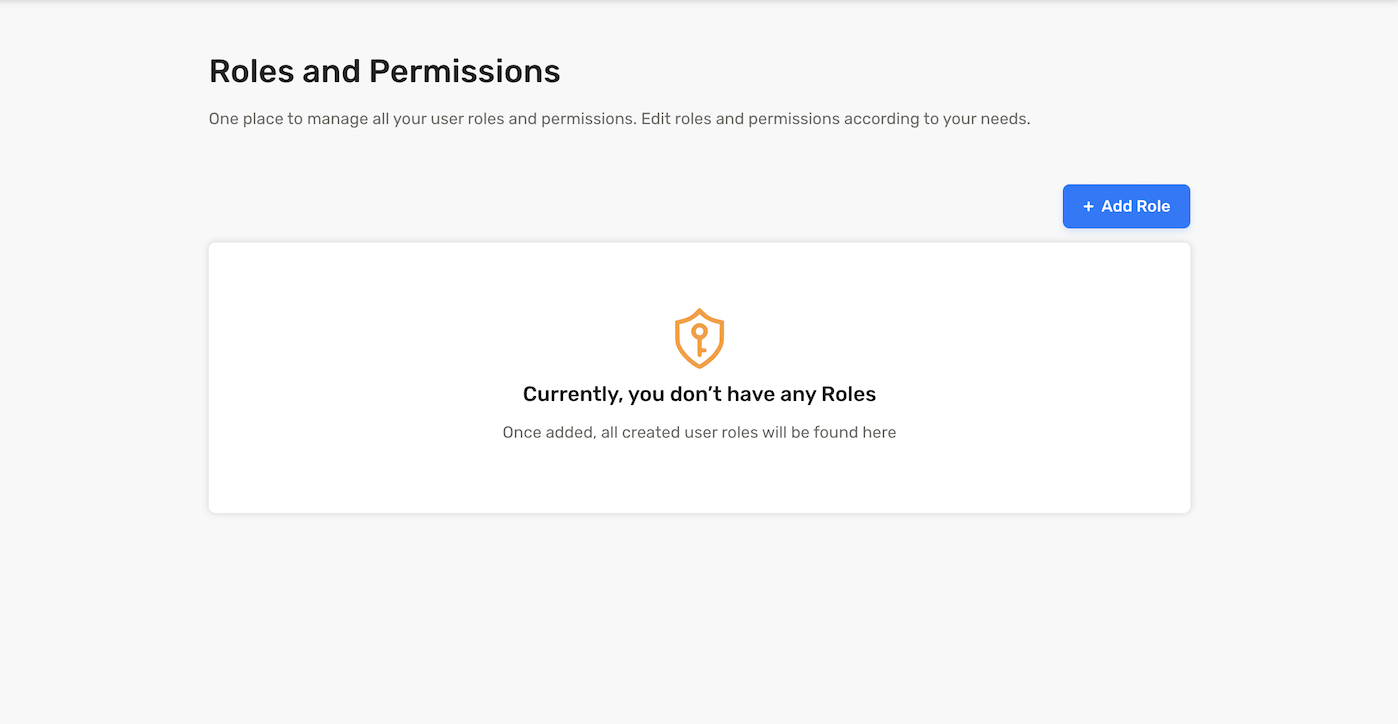
When you first use the UserRoles recipe, the list of roles is empty. To create roles, click on the "Add Role" button.
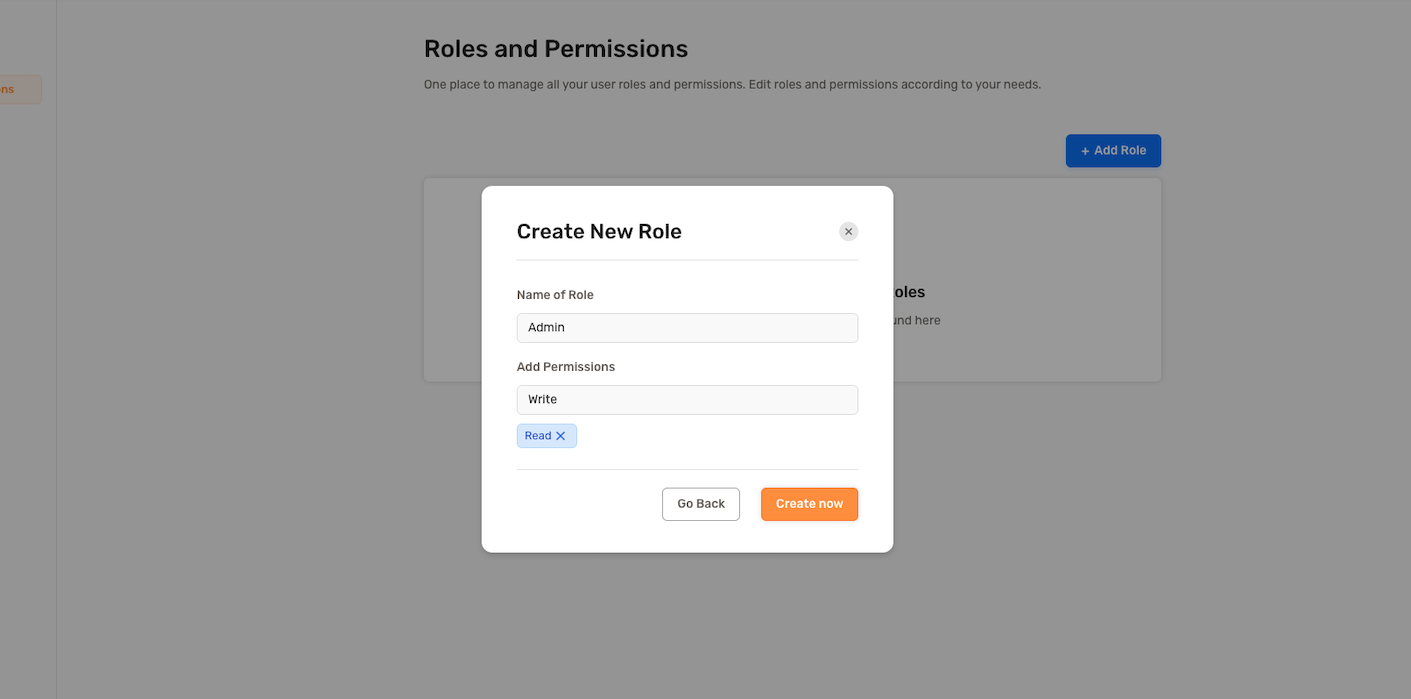
This action opens a modal, enabling you to create a role along with its associated permissions. Permissions are essentially a list of strings assigned to a specific role.
List user roles
This feature is only available through the Node.js SDK.
After creating a role, the UI should display a list of all roles in your app.
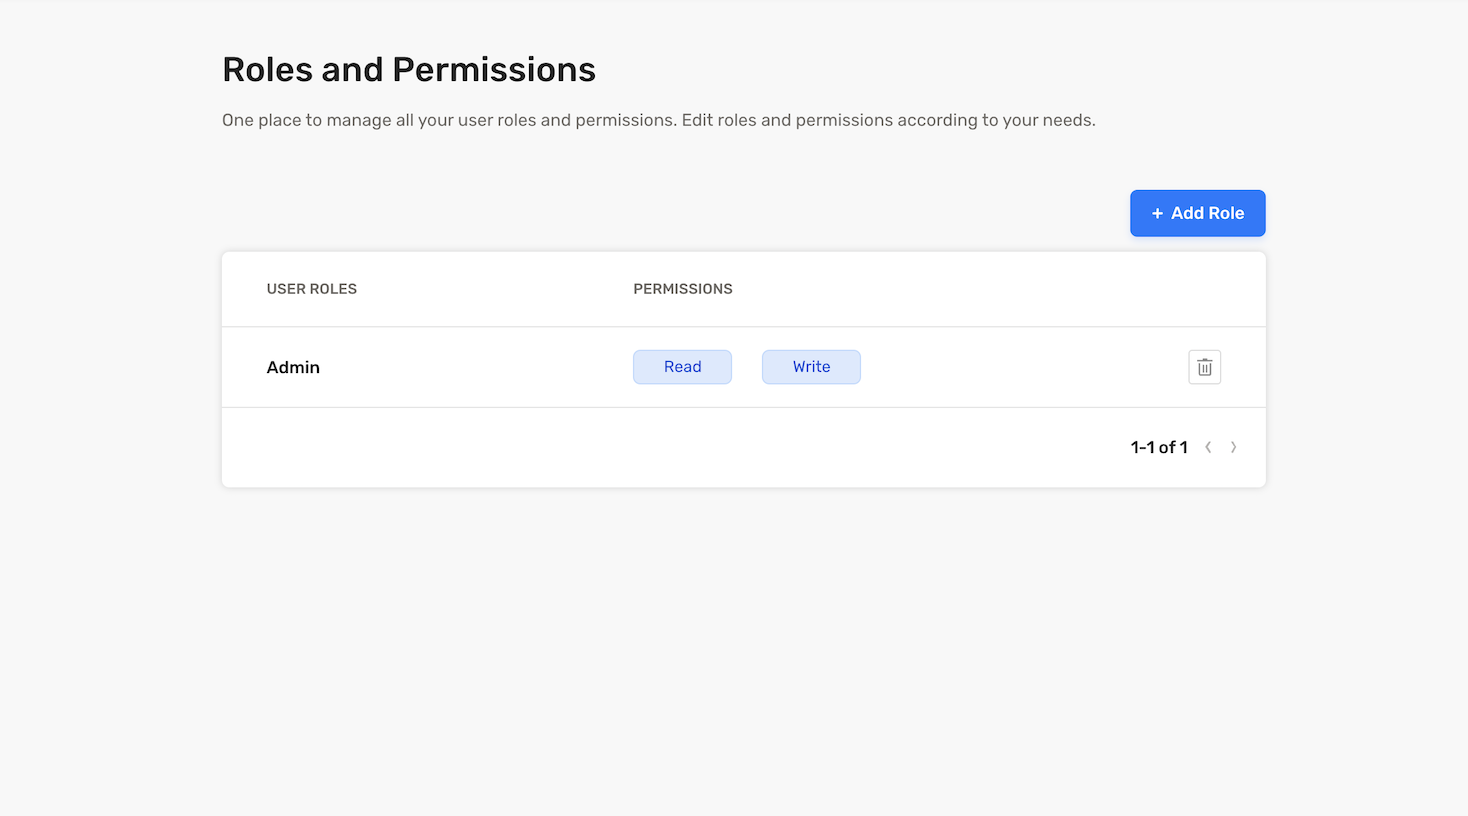
You can preview the role you created by clicking on the role row. The modal provides options to edit or delete the role.
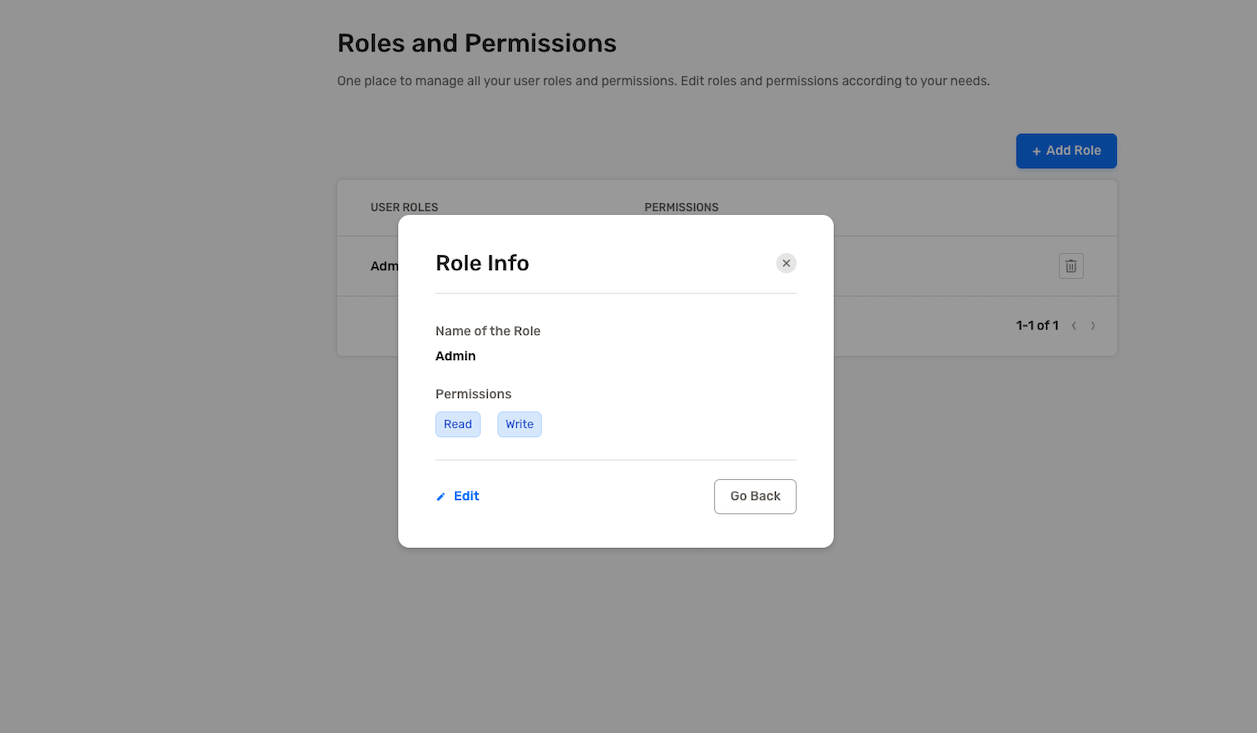
Assign user roles
This feature is only available through the Node.js SDK.
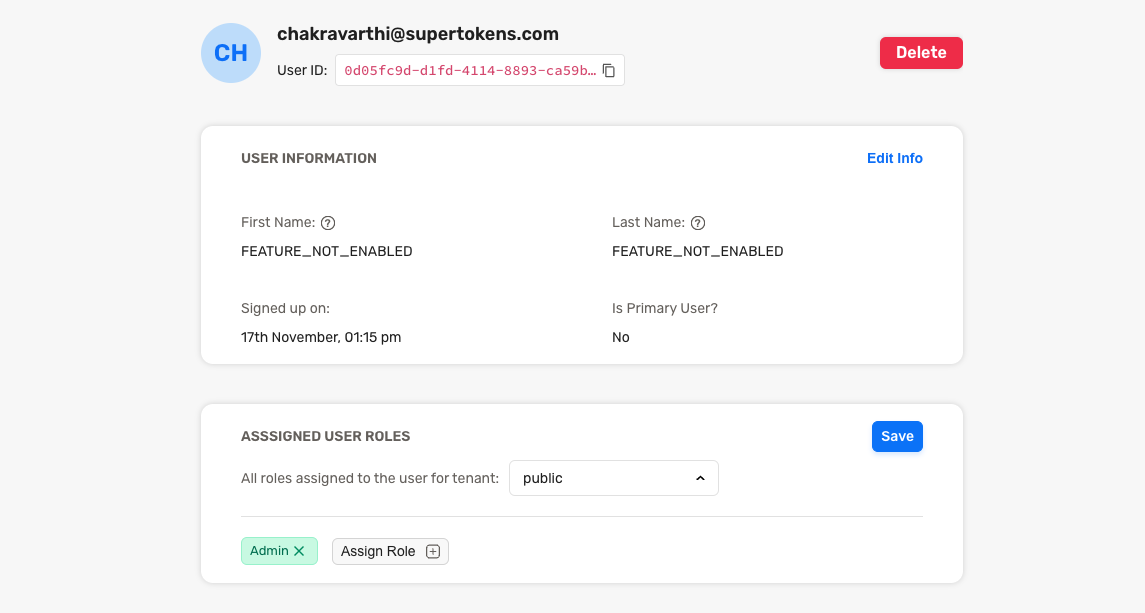
To assign a specific role to a user, start by finding the user in the dashboard. Upon clicking the user, navigate to the user details page where you find a section for user roles.
If the selected user has associations with multiple tenants, you can choose a tenantId from the dropdown menu to specify the tenant for which you'd like to assign roles.
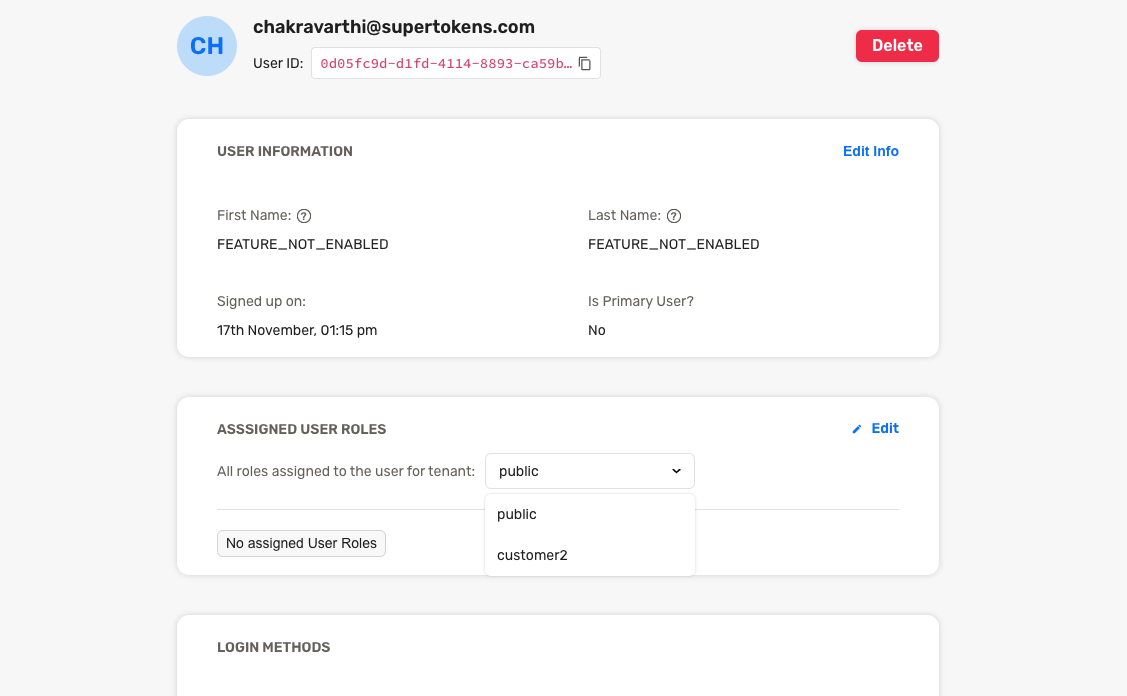
Click the edit button to start assigning roles. Then, select the "Assign Role" button, and a modal appears with a list of available roles for assignment to this user.
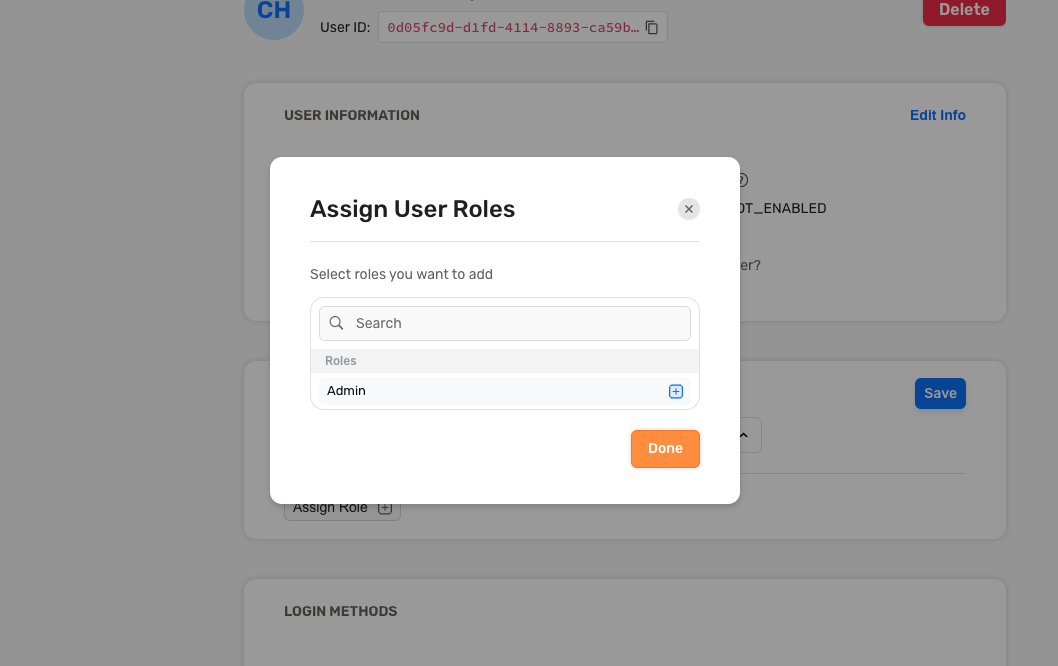
Remove user roles
This feature is only available through the Node.js SDK.
To remove a role assigned to a user, click on the "X" icon next to that specific role.
