
Table of Contents
- High Level Refresher
- Prerequisites
- Setting up a Django Application
- Editing Project Configs
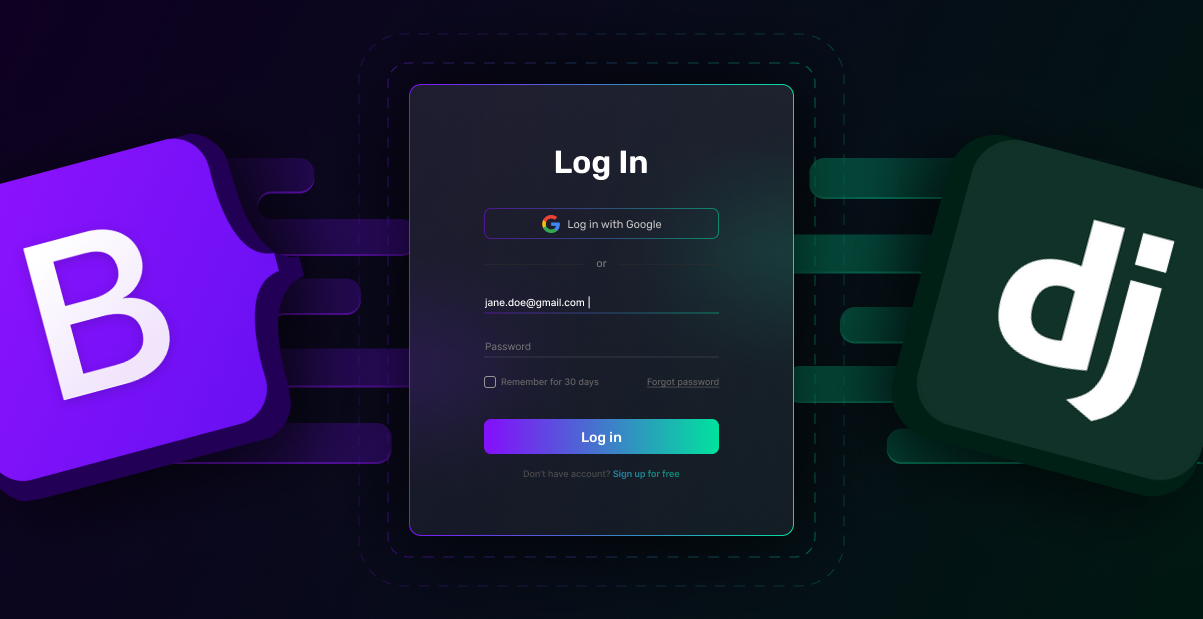
- Building the Login Screen with Bootstrap
- Running the Application
- Conclusion
High Level Refresher
Django is a high-level Python framework that follows the model-template-views architectural pattern. Django is one of the most popular web frameworks due to its security, scalability, and flexible design. Companies like Instagram, Reddit, and Dropbox all used Django.
Bootstrap is an open-source CSS framework that provides pre-built HTML, CSS, and JavaScript components. This includes elements such as navigation bars, forms, buttons, modals, and more. Originally created by Twitter, Bootstrap is now maintained by a large developer community.
Prerequisites
- A basic understanding of HTML, CSS, and Javascript
- A basic understanding of Django
- Python3 installed on your machine
- Django installed on your machine
Setting up a Django application
Let’s first create a project. In your command line, find the correct directory, and run the following command:
$ django-admin startproject django_loginThis creates the project we’ll be working in. From there, we’ll need to create an application. Since we’re building a login screen, navigate into the project with cd django_login, and run the following command:
$ python3 manage.py startapp loginLet’s now run the server to test if everything has been set up correctly. Run the following command:
$ python3 manage.py runserverBy deploying our Django application, we can check in real-time if the build is compiling correctly. Since we have only initialized our Django application, in localhost:8000/, you should see the following webpage:

Below is a command-line screenshot of setting up a Django application from scratch.

Editing Project Configs
django_login/settings.py
First, we’ll notify our project that we’ve created an application. To do this, go into the django_login folder and find the settings.py file. Scroll down to the INSTALLED_APPS section and add 'login' (our application name) to the list of applications.

django_login/urls.py
From there, we’ll need to edit the urls.py file to account for our new application. We will be using the built-in LoginView from Django which will display the login form and process the login action.
Replace the template code with the following:
from django.contrib import admin
from django.urls import path, include
from django.contrib.auth.views import LoginView

urlpatterns = [
    path('', LoginView.as_view()),
    path('login/', include('login.urls')),
    path('admin/', admin.site.urls),
]
Building the login screen with Bootstrap
login/templates/registration/login.html
First, within the login folder, we’ll need to create a templates folder, and then a registration folder within. From there, we’ll create a login.html file.
Because we’re using the built-in LoginView of Django, we must provide the HTML template with the registration/login.html format.
Inside login.html, we’ll add the following Bootstrap code (delivered via CDN for convenience, though there are other Bootstrap installation methods):
<!DOCTYPE html>
<html lang="en">
  <head>
    <meta charset="utf-8">
    <meta http-equiv="X-UA-Compatible" content="IE=edge">
    <meta name="viewport" content="width=device-width, initial-scale=1">
    <title>Signin</title>
    <link href="https://cdn.jsdelivr.net/npm/[email protected]/dist/css/bootstrap.min.css" rel="stylesheet" integrity="sha384-GLhlTQ8iRABdZLl6O3oVMWSktQOp6b7In1Zl3/Jr59b6EGGoI1aFkw7cmDA6j6gD" crossorigin="anonymous">
    <script src="https://cdn.jsdelivr.net/npm/[email protected]/dist/js/bootstrap.bundle.min.js" integrity="sha384-w76AqPfDkMBDXo30jS1Sgez6pr3x5MlQ1ZAGC+nuZB+EYdgRZgiwxhTBTkF7CXvN" crossorigin="anonymous"></script>

  </head>
  <body class="text-center">
    <form class="form-signin">
      <h1 class="h3 mb-3 font-weight-normal">Django Login Demo</h1>
      {% csrf_token %}
      <input id="inputEmail" class="form-control" placeholder="Email address" required="" autofocus="" type="email">
      <input id="inputPassword" class="form-control" placeholder="Password" required="" type="password">
      <div class="checkbox mb-3">
        <label>
          <input value="remember-me" type="checkbox"> Remember me
        </label>
      </div>
      <button class="btn btn-lg btn-primary btn-block" type="submit">Sign in</button>
    </form>
  </body>
</html>

<style>
html,
body {
  height: 100%;
}

body {
  display: -ms-flexbox;
  display: -webkit-box;
  display: flex;
  -ms-flex-align: center;
  -ms-flex-pack: center;
  -webkit-box-align: center;
  align-items: center;
  -webkit-box-pack: center;
  justify-content: center;
  padding-top: 40px;
  padding-bottom: 40px;
  background-color: #f5f5f5;
}

.form-signin {
  width: 100%;
  max-width: 330px;
  padding: 15px;
  margin: 0 auto;
}

.form-signin .checkbox {
  font-weight: 400;
}

.form-signin .form-control {
  position: relative;
  box-sizing: border-box;
  height: auto;
  padding: 10px;
  font-size: 16px;
}

.form-signin .form-control:focus {
  z-index: 2;
}

.form-signin input[type="email"] {
  margin-bottom: -1px;
  border-bottom-right-radius: 0;
  border-bottom-left-radius: 0;
}

.form-signin input[type="password"] {
  margin-bottom: 10px;
  border-top-left-radius: 0;
  border-top-right-radius: 0;
}
</style>
login/views.py
Now that we have our HTML, we need to render it in Django. Go to the views.py file and replace the template code with the following:
from django.shortcuts import render

def index(request):
    return render(request, 'authentication/login.html')
Running the application
Once everything is set up, your login folder structure should look like this:

When we run python manage.py runserver, the following webpage should show up on your localhost.

Great success!
Conclusion
Congrats - you’ve created a login screen using Django with Bootstrap! You’ll still need to set up the authentication logic (hashing & storing the user credentials, session management, building the signup and forgot password screens, and redirecting post-login).
But for now - time to celebrate!
At SuperTokens, we simplify your authentication process - and help you set up a fully functioning Django authentication flow within minutes. Check us out or message us on Discord!